
$337 Plasma Table Build

I needed to have some metal parts cut for a project and was tossing around the idea of sendcutsend, or trying out a plasma cutter. Exploring the plasma cutter route, my buddy and I noticed small plasma tables looked really close to 3d printers / laser cutters. With that idea in my head I decided to throw together a plasma cutter controlled by a laser engraver with really incredible results.

Prereqs (Really need this stuff, or a plan to get it)
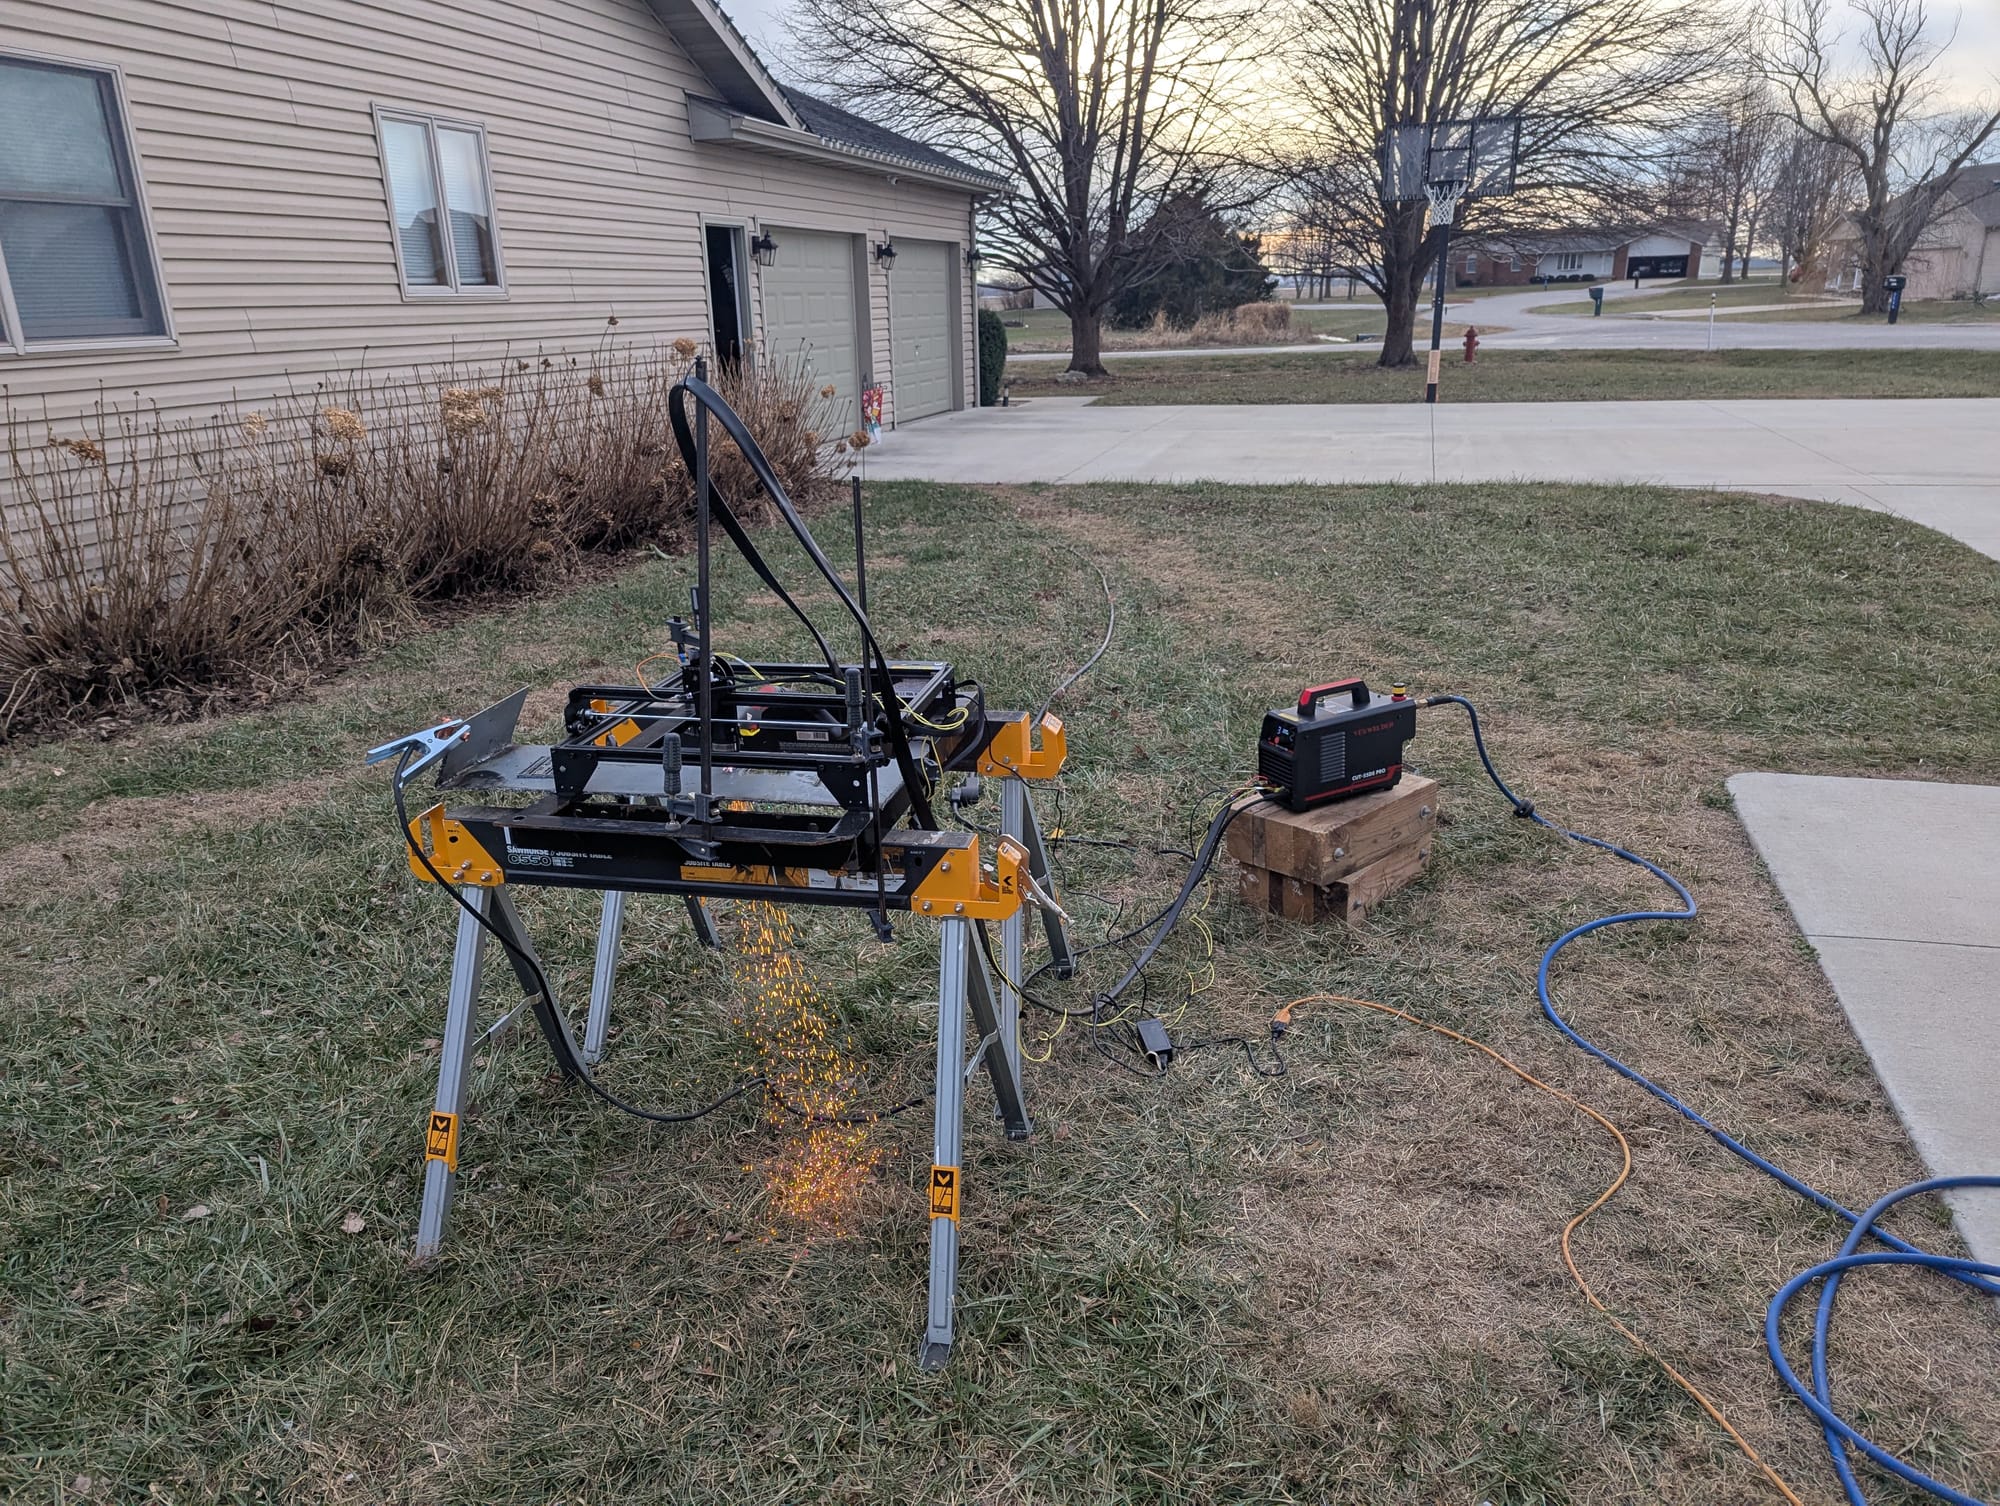
- Air Compressor - Clean dry air need to be able to keep up at least 60psi
- 220V outlet , 50 amps. (You can try 110 but expect to fight with breakers tripping)
Purchase
- Laser Cutter - Longer Ray 5 - 15.7"x15.7" - $159.00
- Pros:
- Really like the Longer Ray 5 because it has a touch screen makes starting jobs easy.
- Also has Wifi so I can send gcode to the machine.
- For another $100 you can double the length.
- Cons:
- Flame sensor .. easily defeated with aluminum foil and electrical tape.
- Movement Sensor.. also easy to bypass.
- Pros:
- Plasma Cutter - Yeswelder Cut-55DS-PRO - $249.00 or Tooliom TL-50C - $159
- Note: You must use a Pilot Arc Non-High Frequncy Plasma cutter. Its not worth the pain of messing with the high frequency for the price.
- I would choose the cheaper one, however i was under a time crunch so sprung for the extra $100 on the Yeswelder.
- Pros:
- Works as it should
- Super Light
- Cons:
- None at this time
- Electronic parts
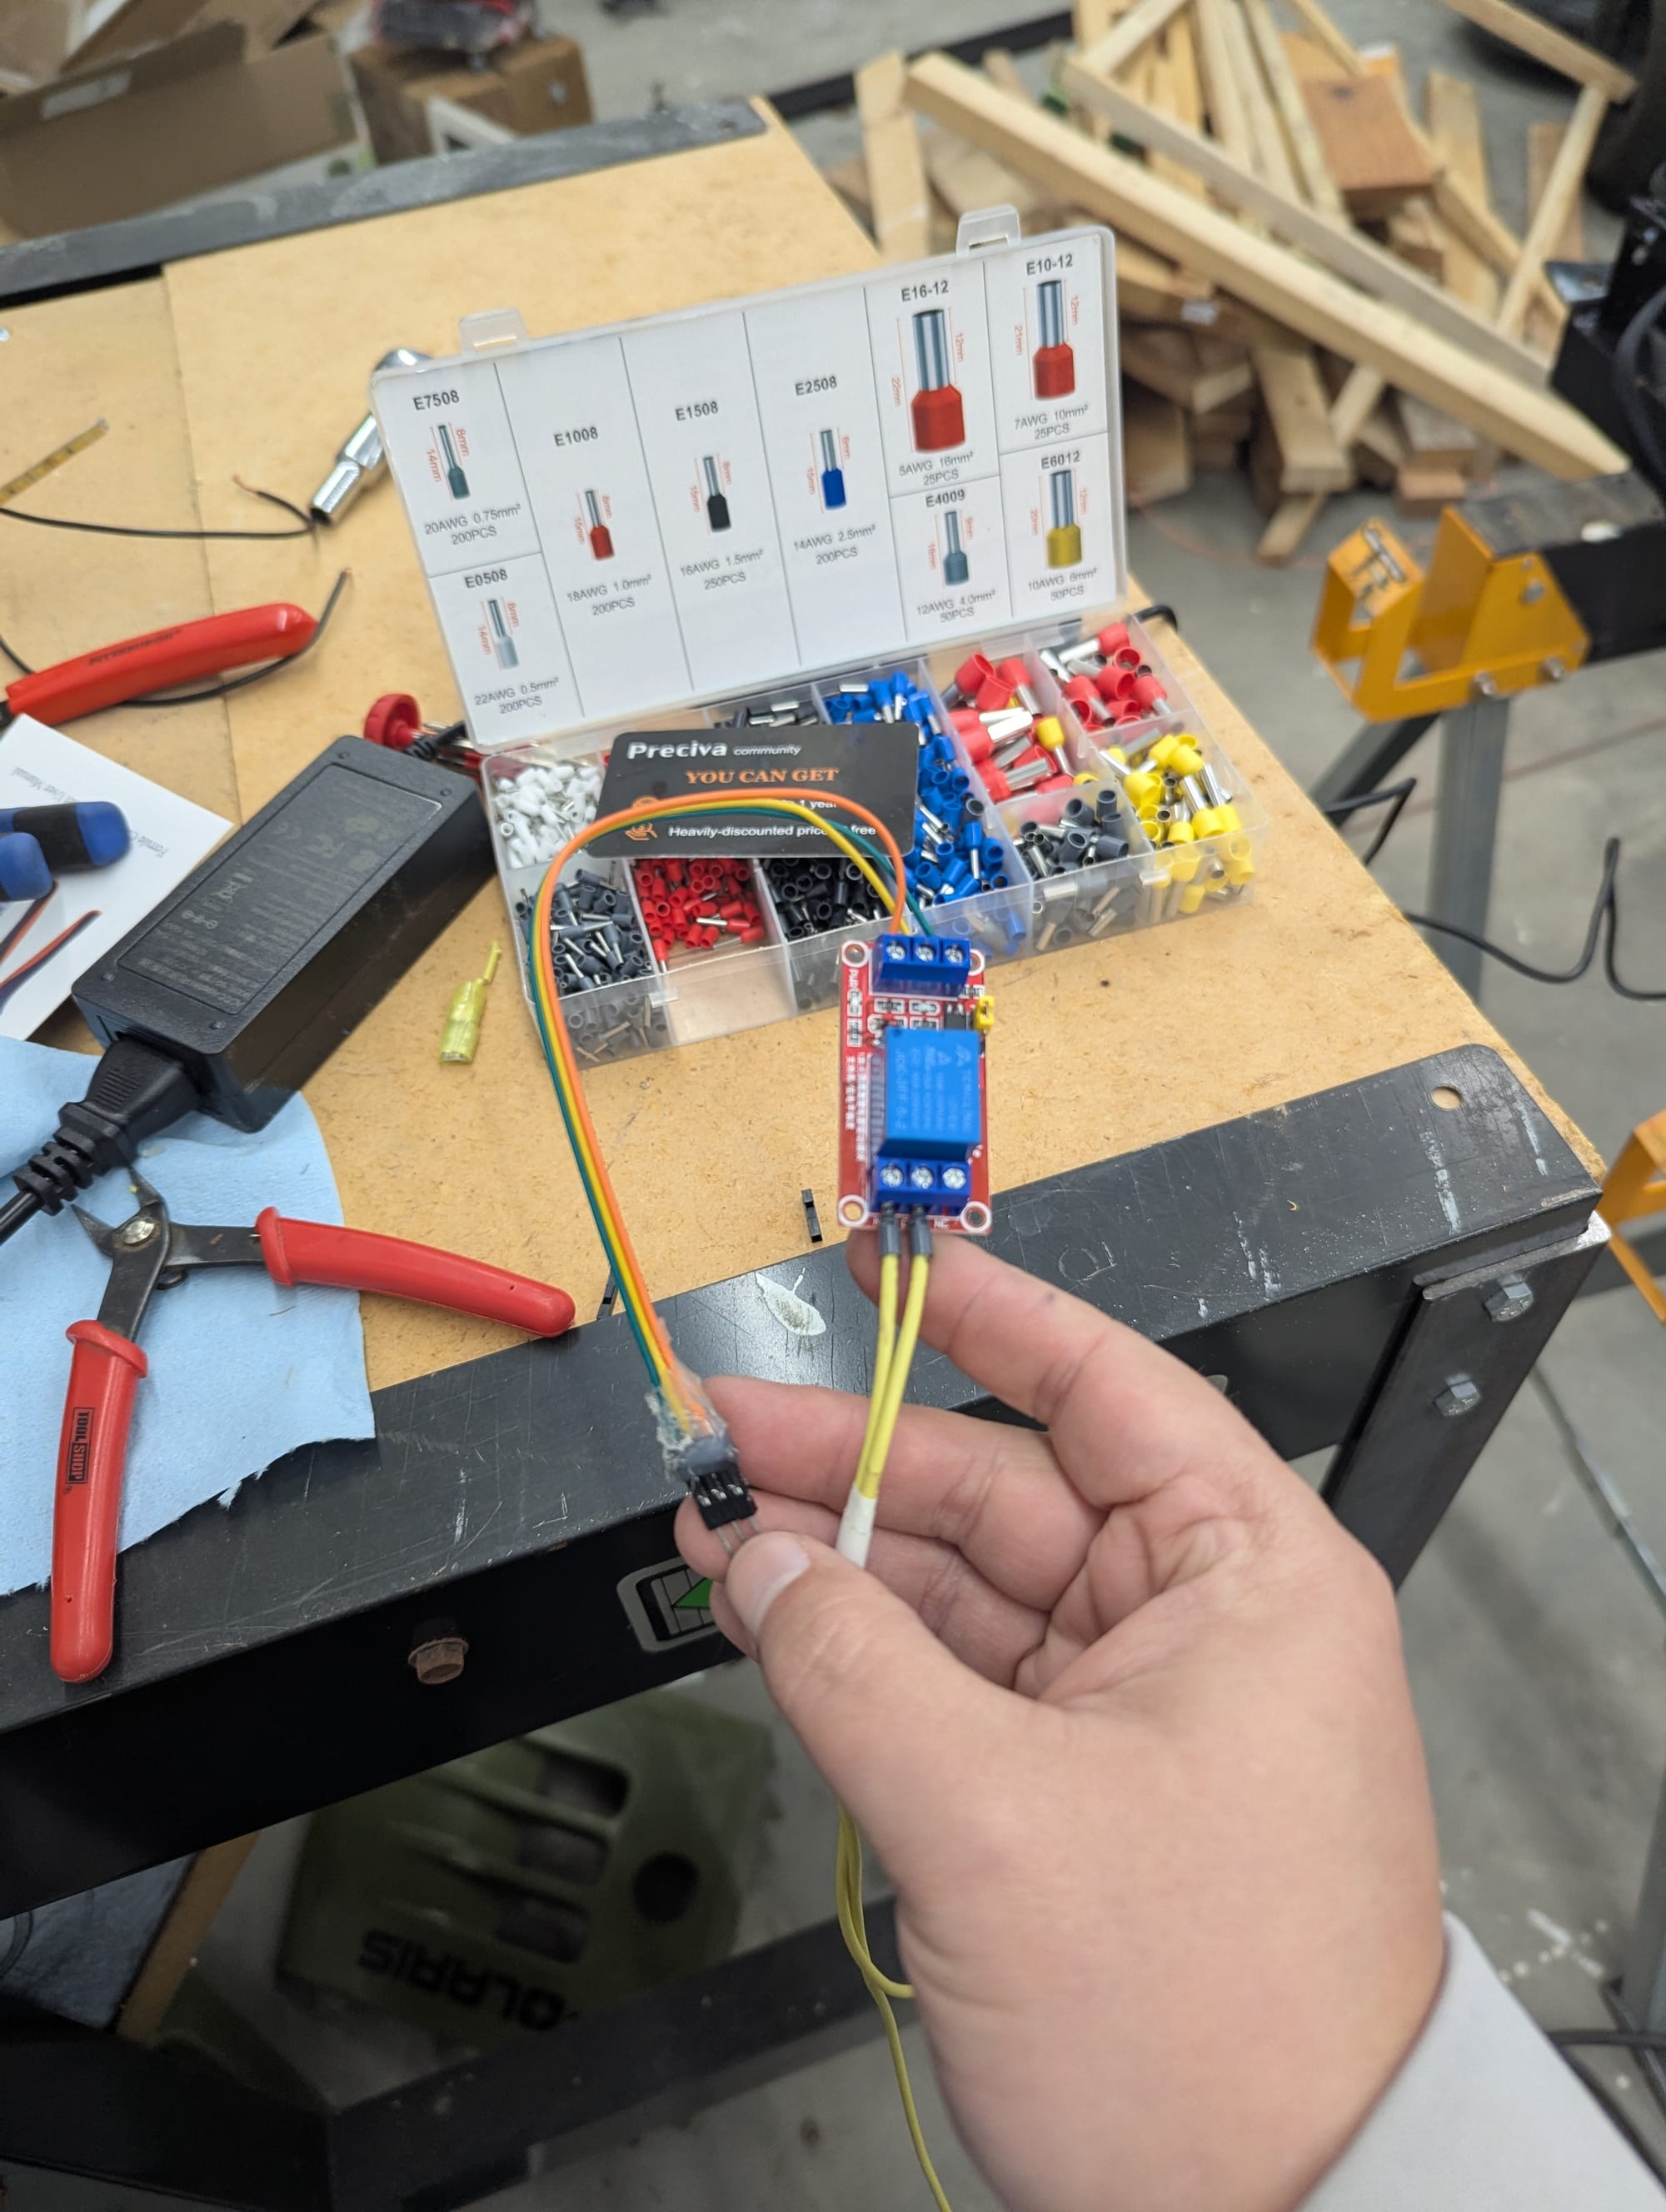
- 5V Replay one channel - $7
- Breadboard wires - $7
- Electrical tape
- Zip Ties
Build
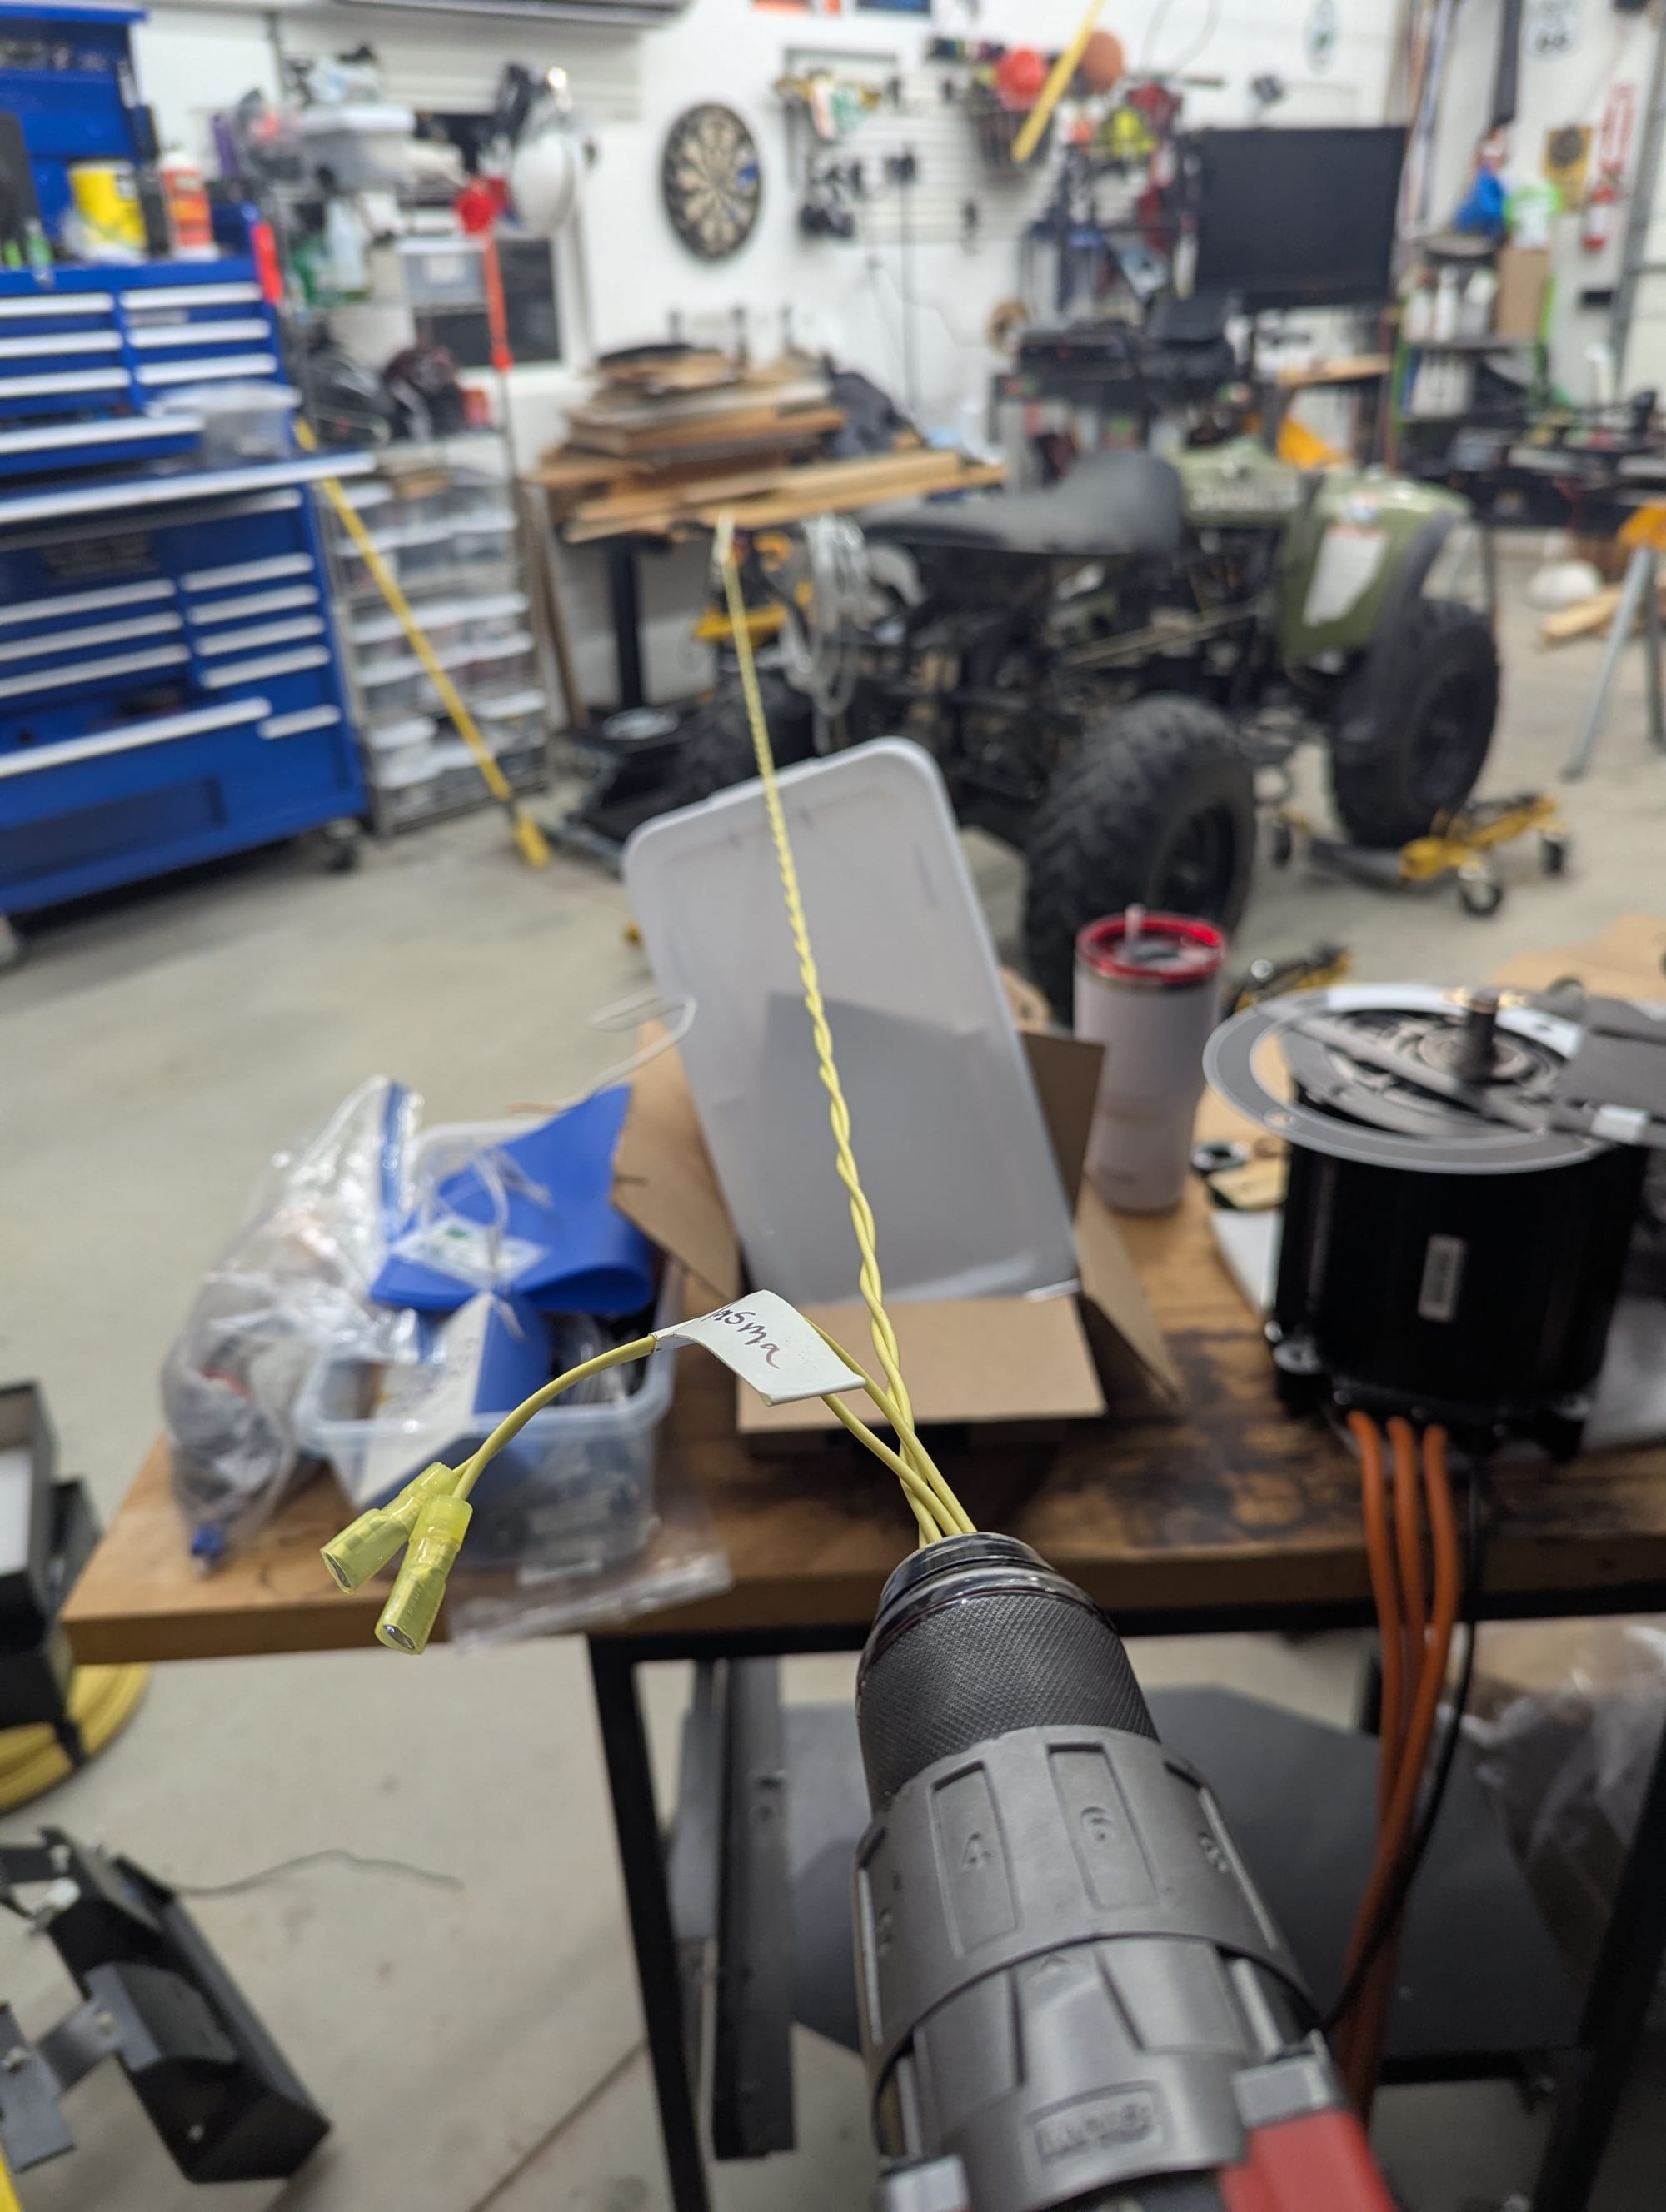
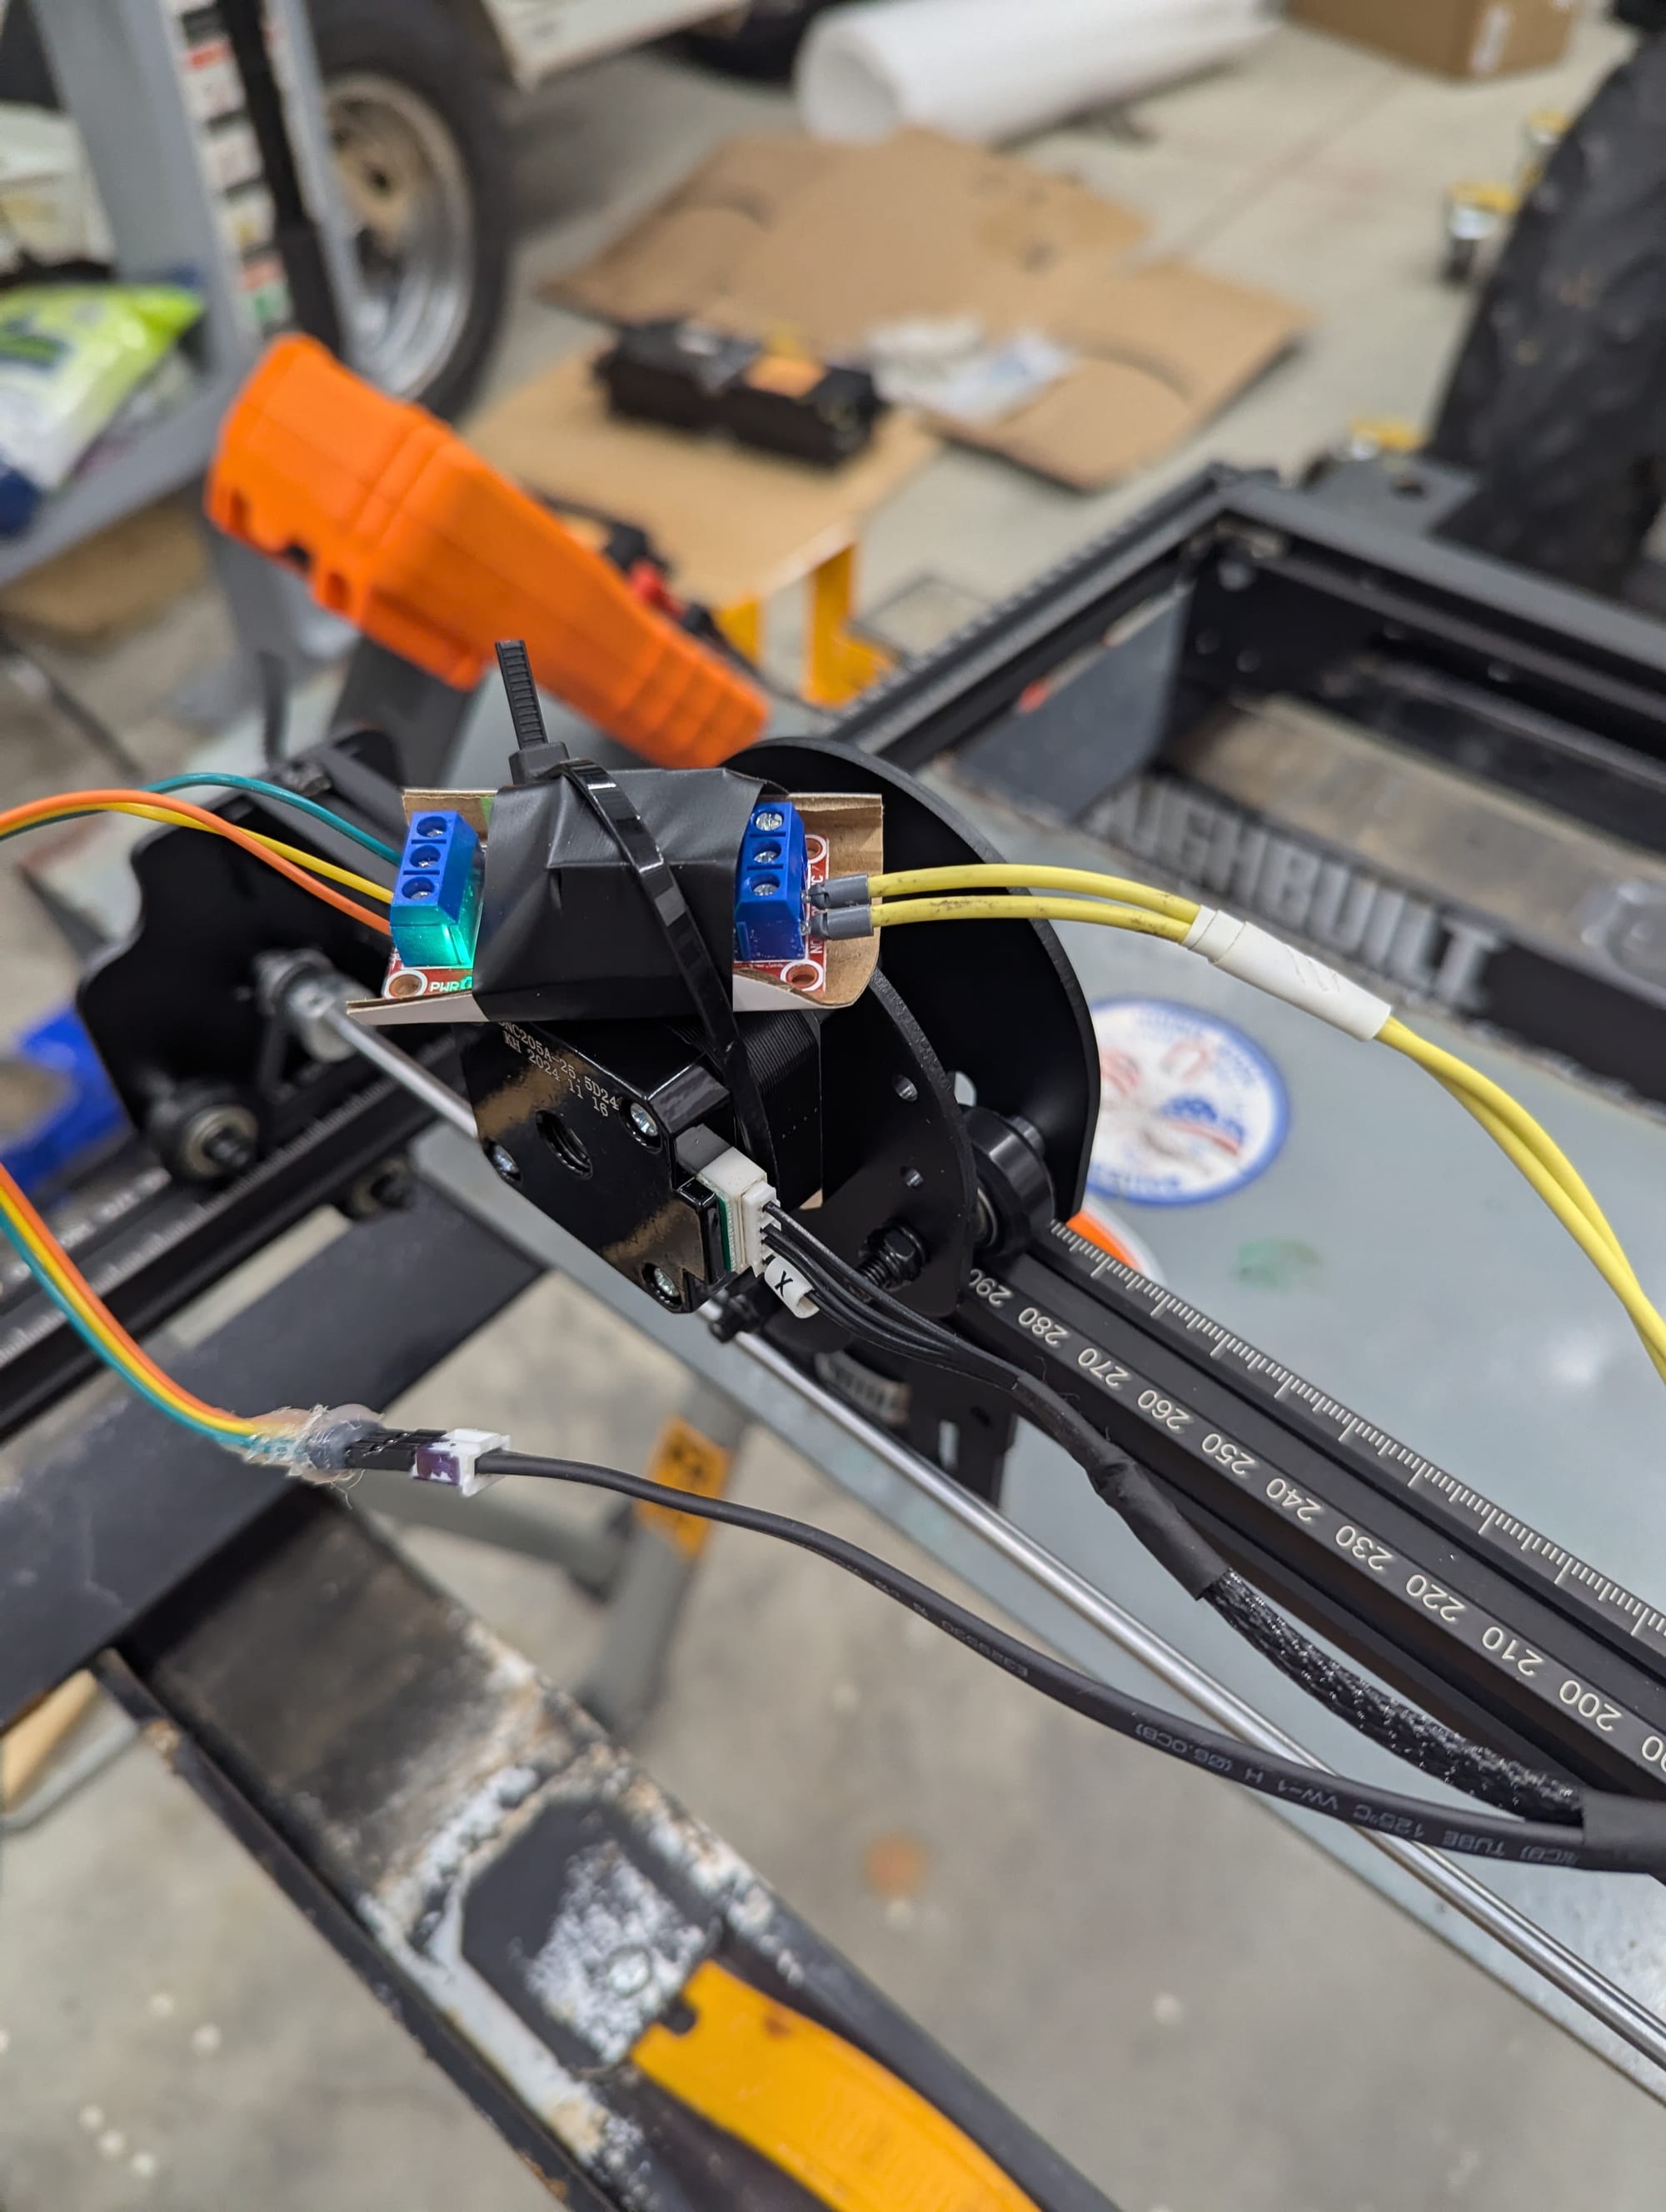
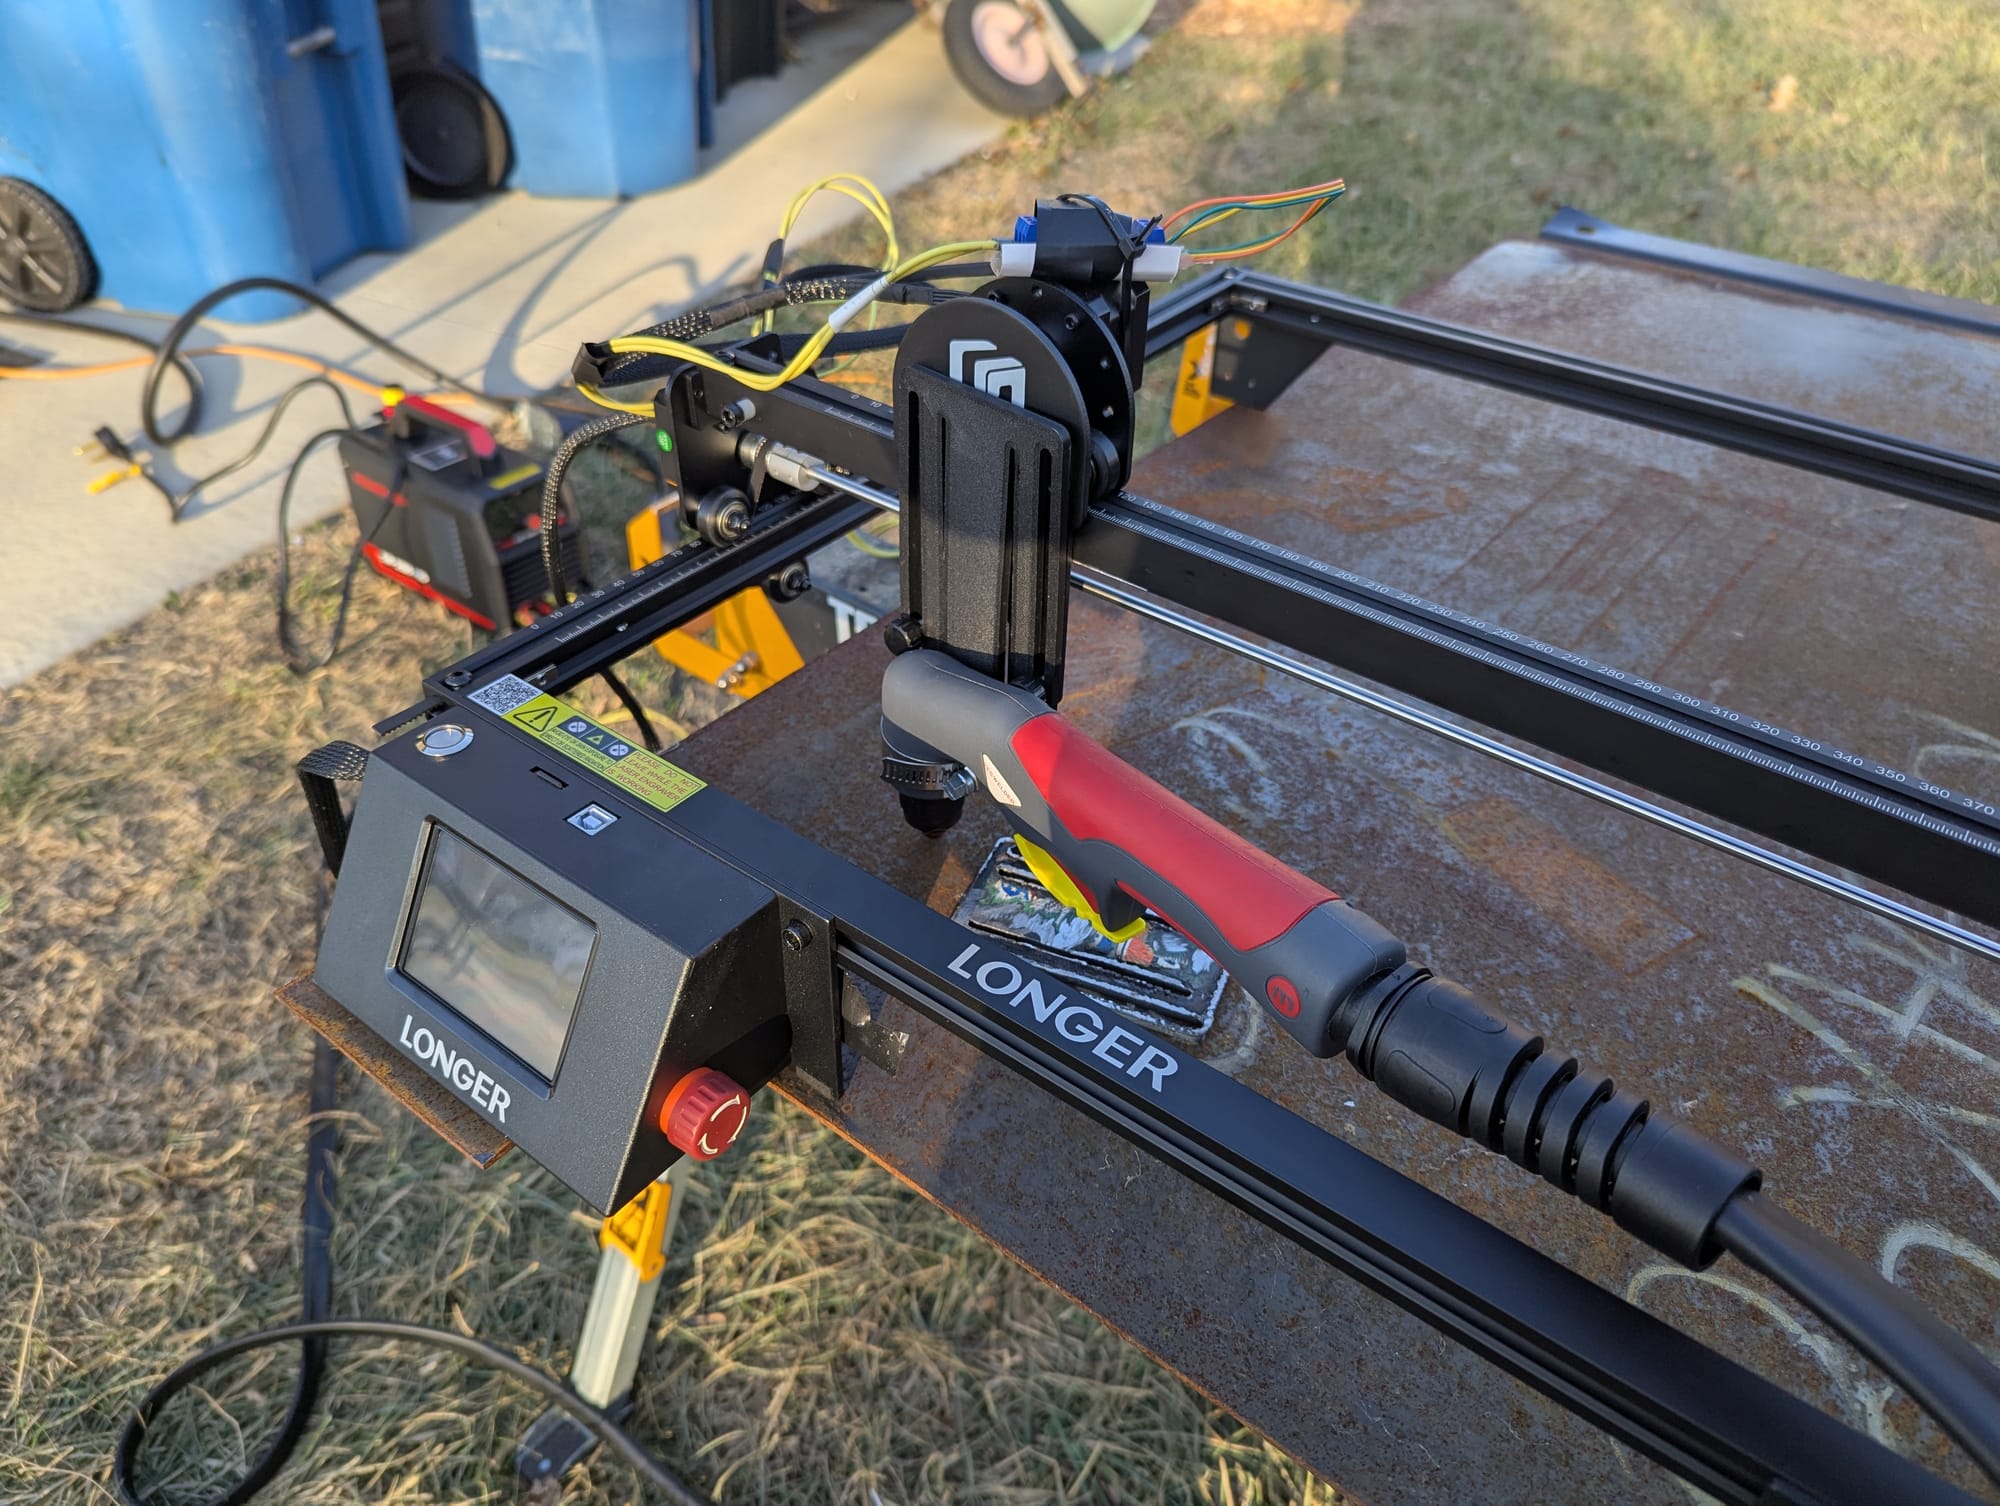
Wire up the relay that will be used to control the plasma cutter. The outside pin off the laser cutter is 12v, middle is ground, and the other outside is the pwm voltage. Wire them into the relay. From the relay out to the plasma cutter just use some wire and terminals and link it to the plasma cutter.
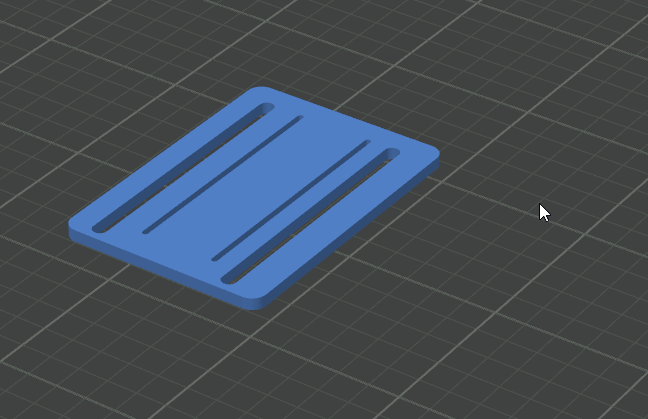
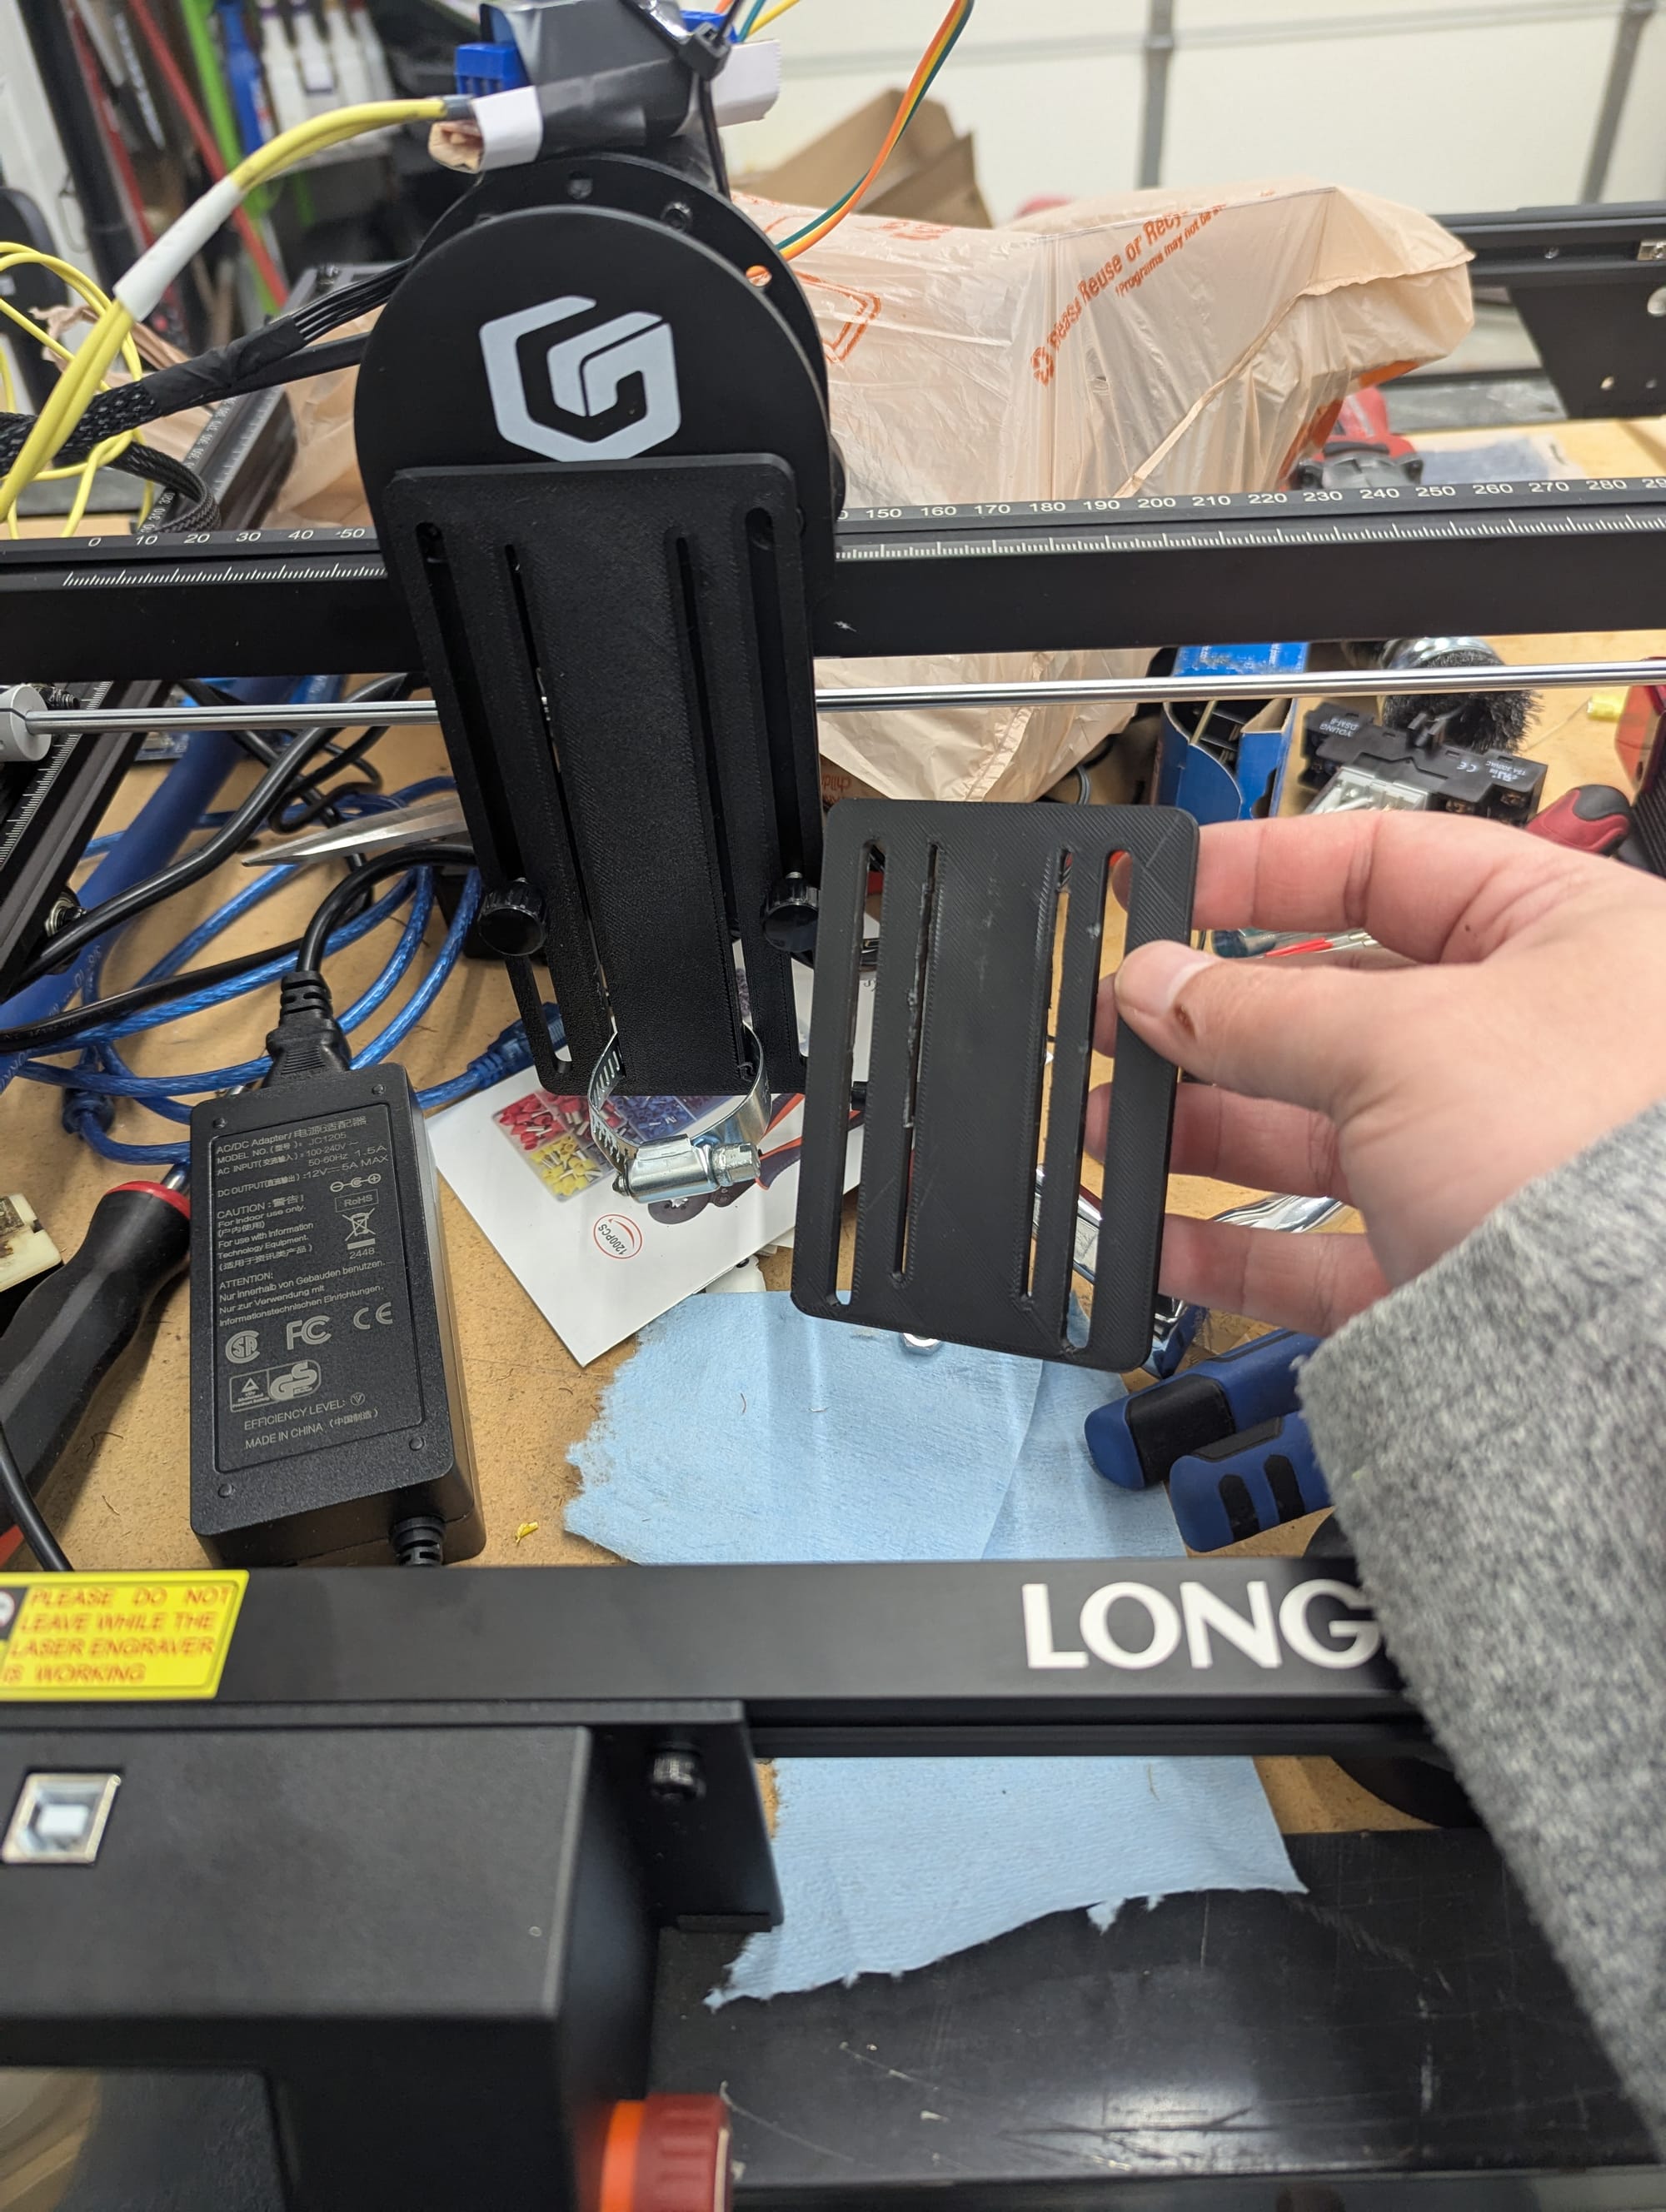
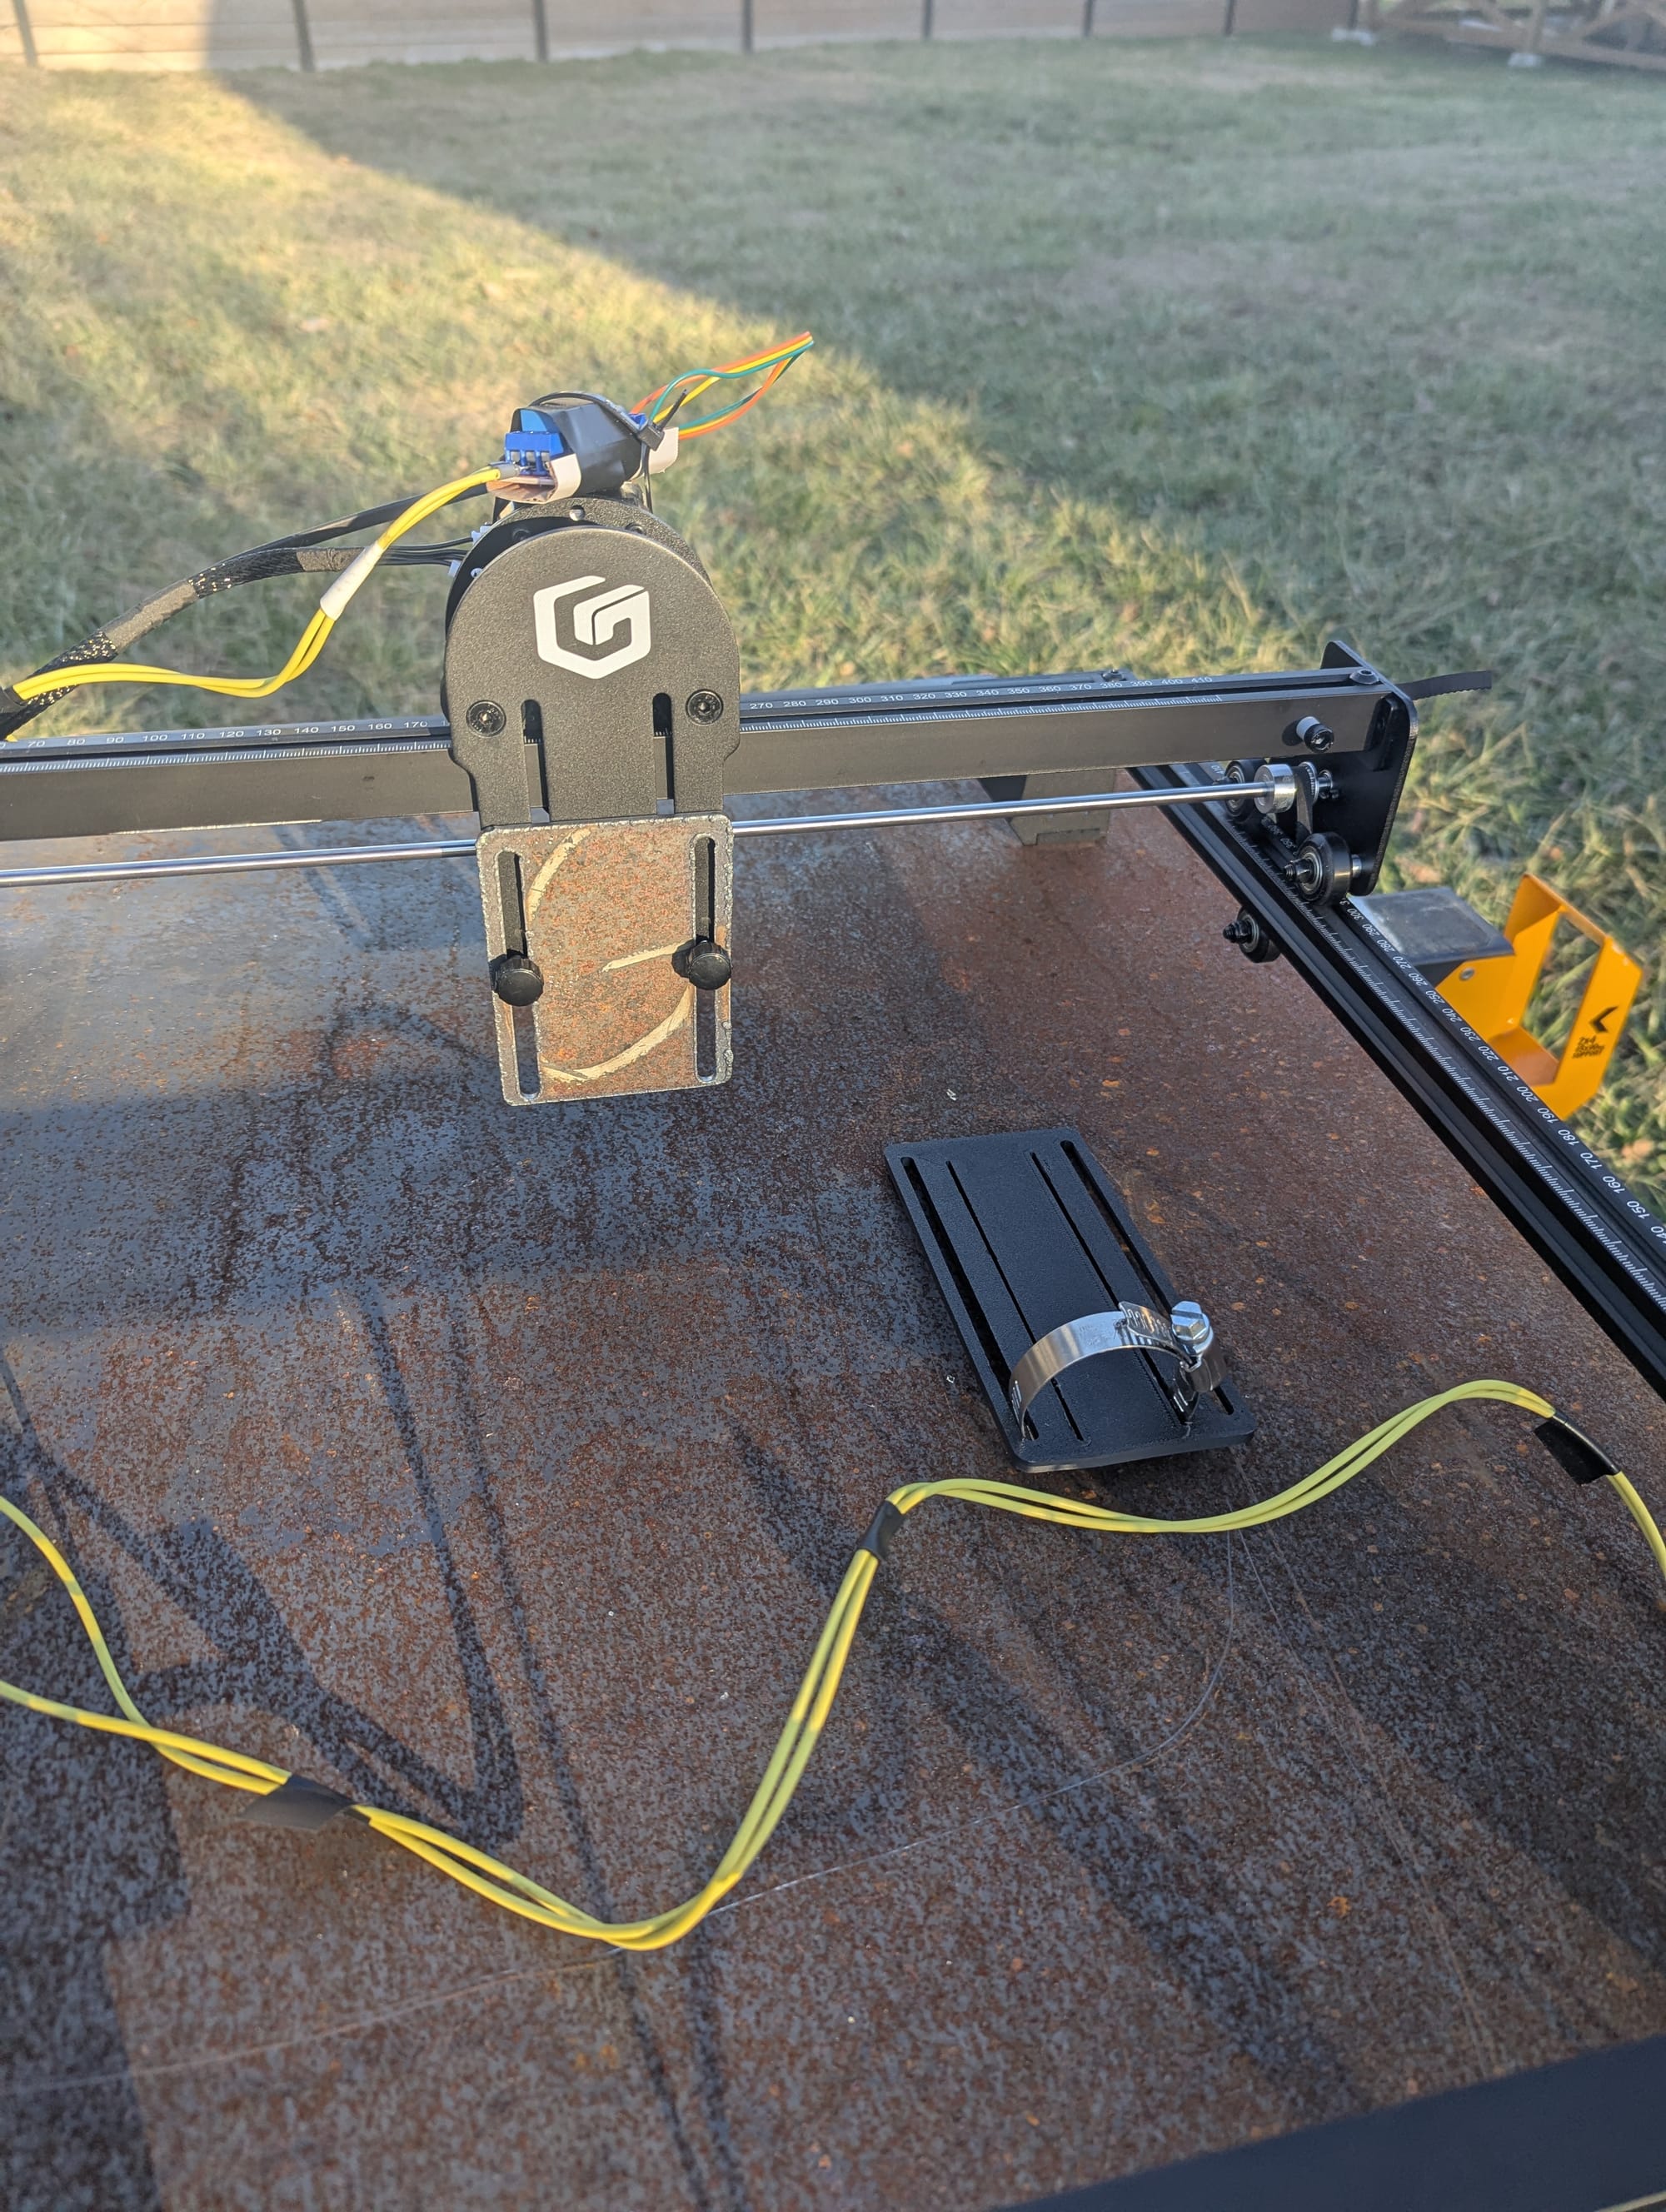
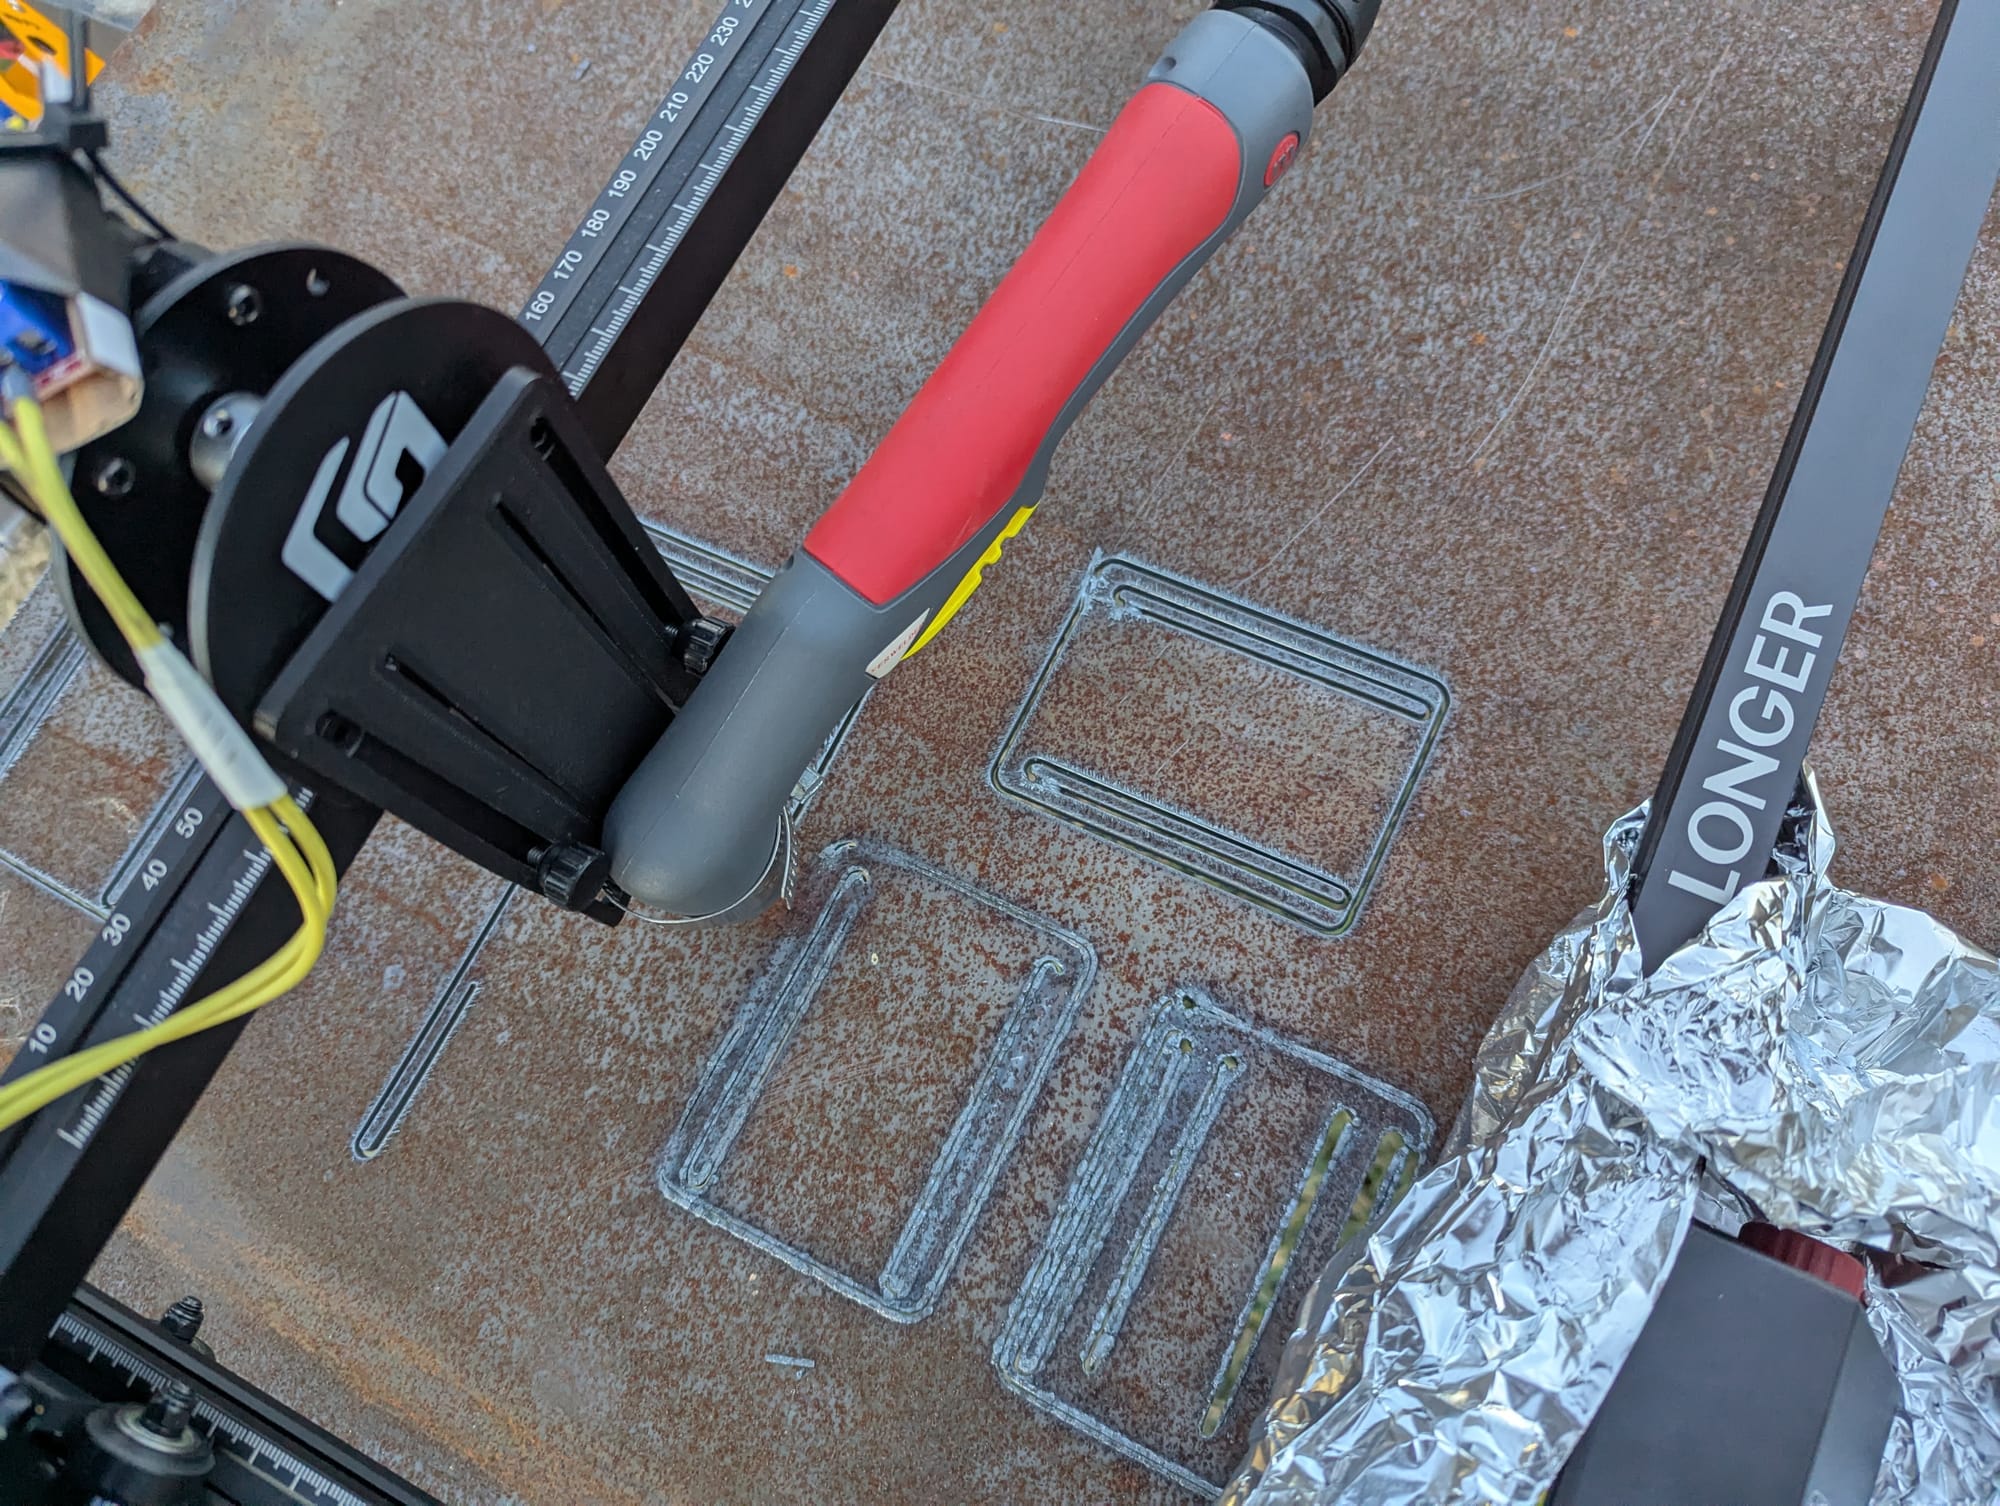
Next up we need a bracket to mount the plasma cutter to. You can use this 3d file if you want, then after you get the machine running cut it out of metal. From there just use a hose clamp to fix the cutting torch
How to use this thing?
I would suggest for folks that are not very good with the computer look up lightburn (cost $80). That should let you create brackets and other shapes you will need in projects around the shop. If your more comfortable with a computer use FreeCad, and then import the designs into lightburn.
When you are in lightburn set the laser power to 100%, otherwise the relay may not fire as expected. Speeds and start delay are also configured in lightburn.
My workflow is to import from freecad, into lightburn. From there set the speeds and feeds, then export the gcode. Use the Longer webui to upload the gcode to the machine. Since the machine has a touch screen i kick off the job from there.
Couple of tips
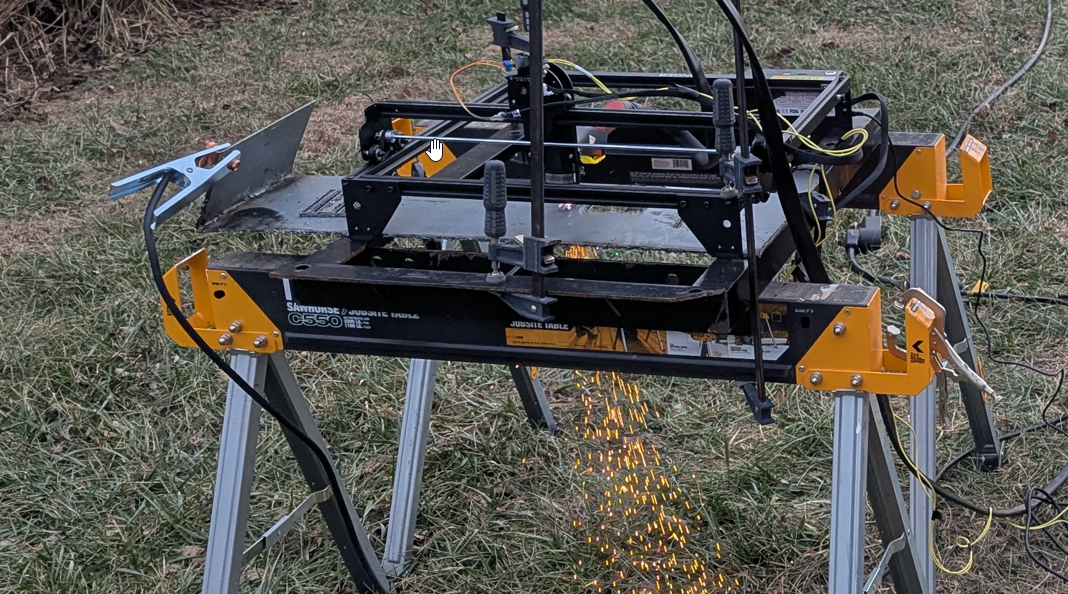
- Cover the control panel with aluminum foil to keep the flame sensor from triggering
- Clamp down one corner of the machine, or use magnets to keep it from moving with the work
- Watch out for the handle hitting the gantry.
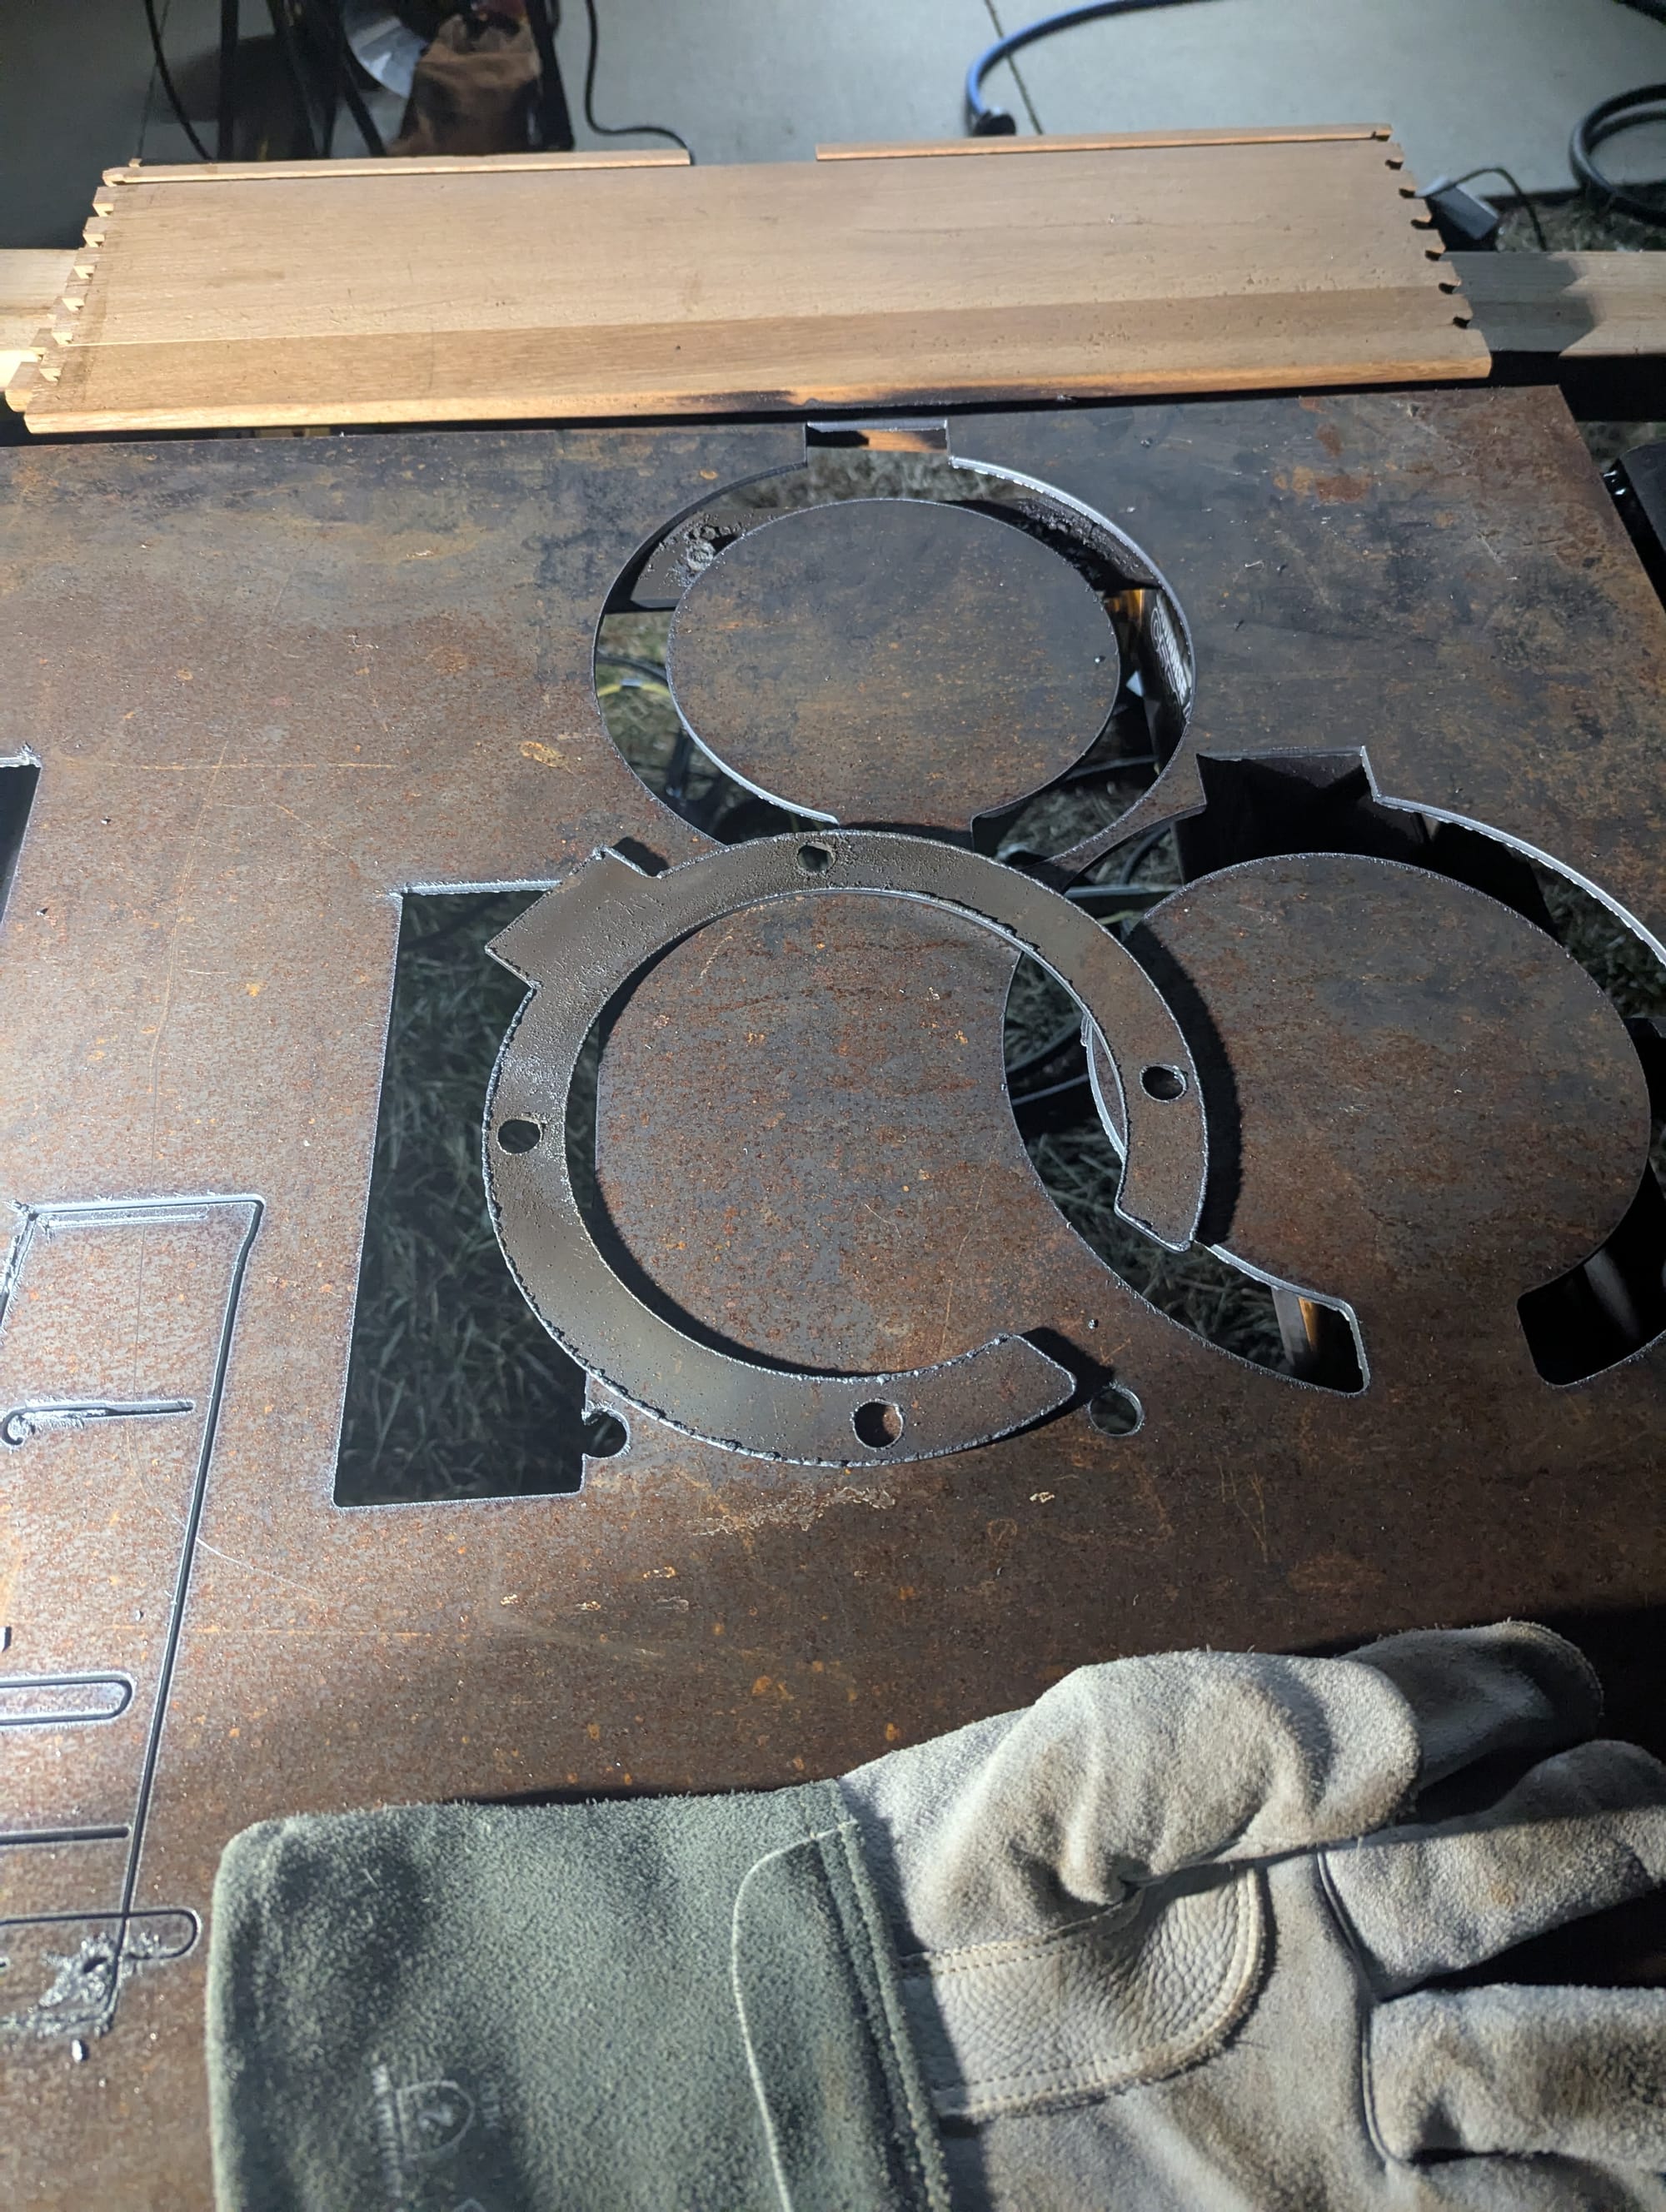
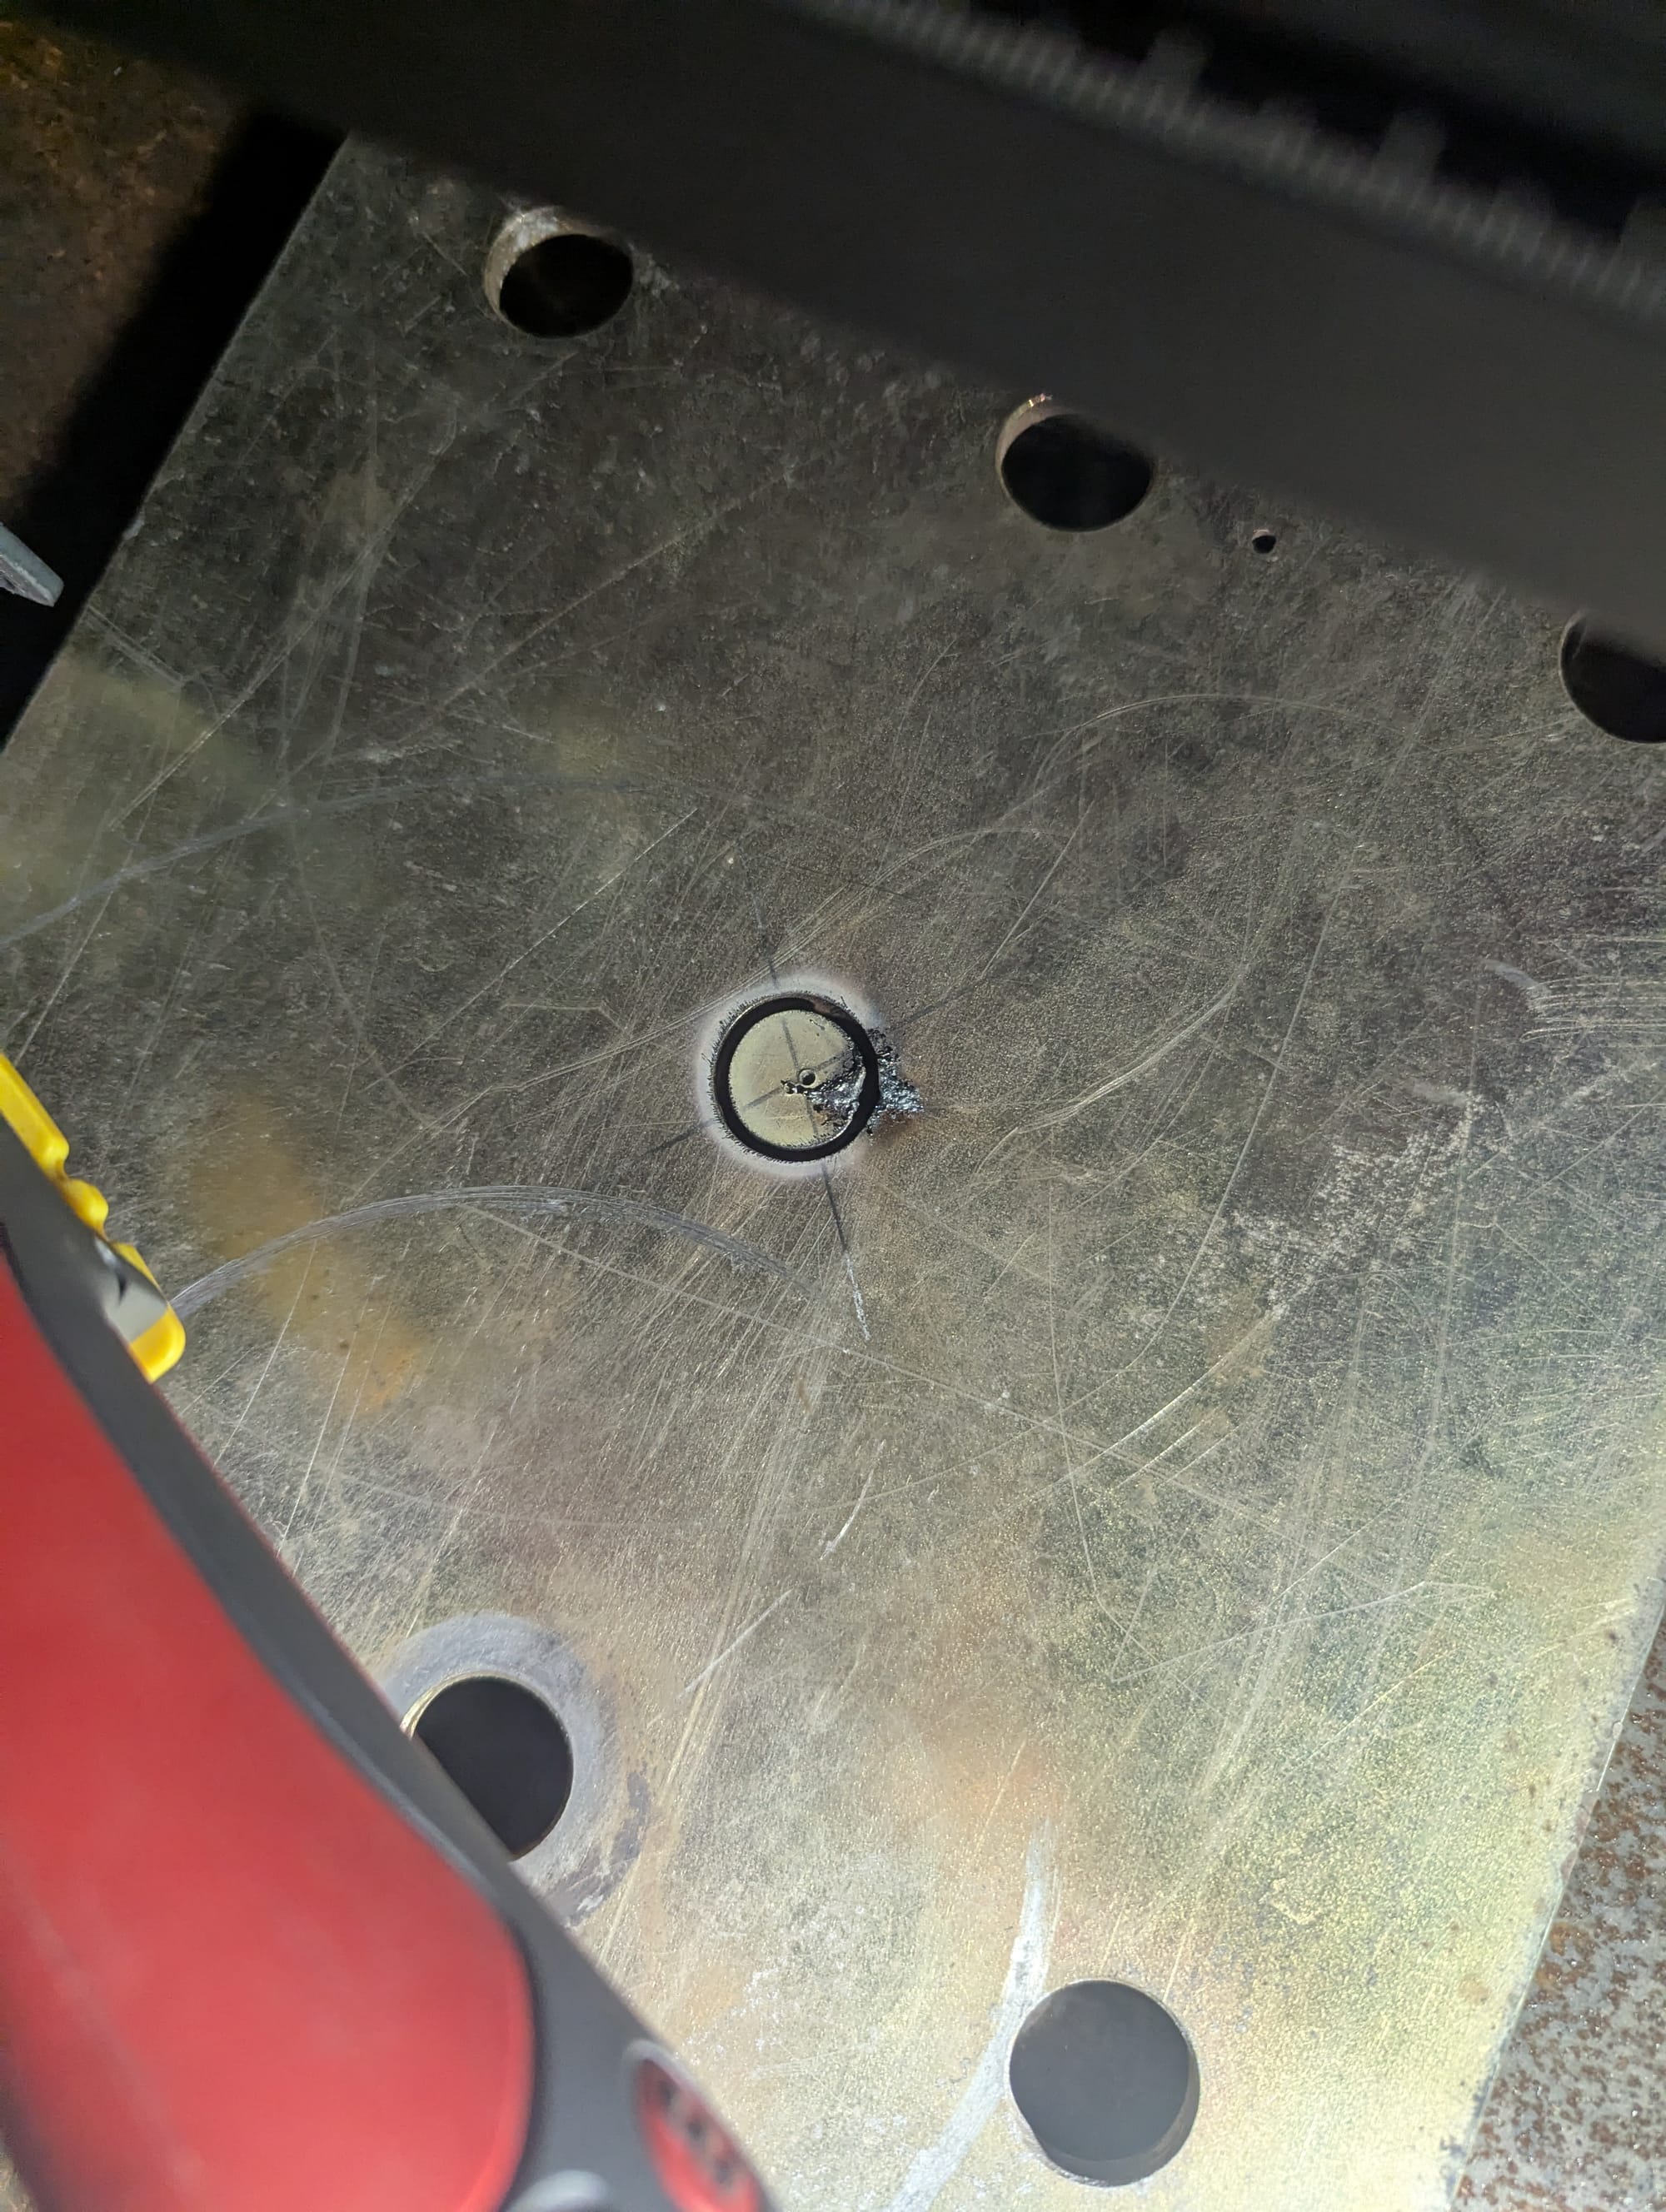
Image Gallery of cuts
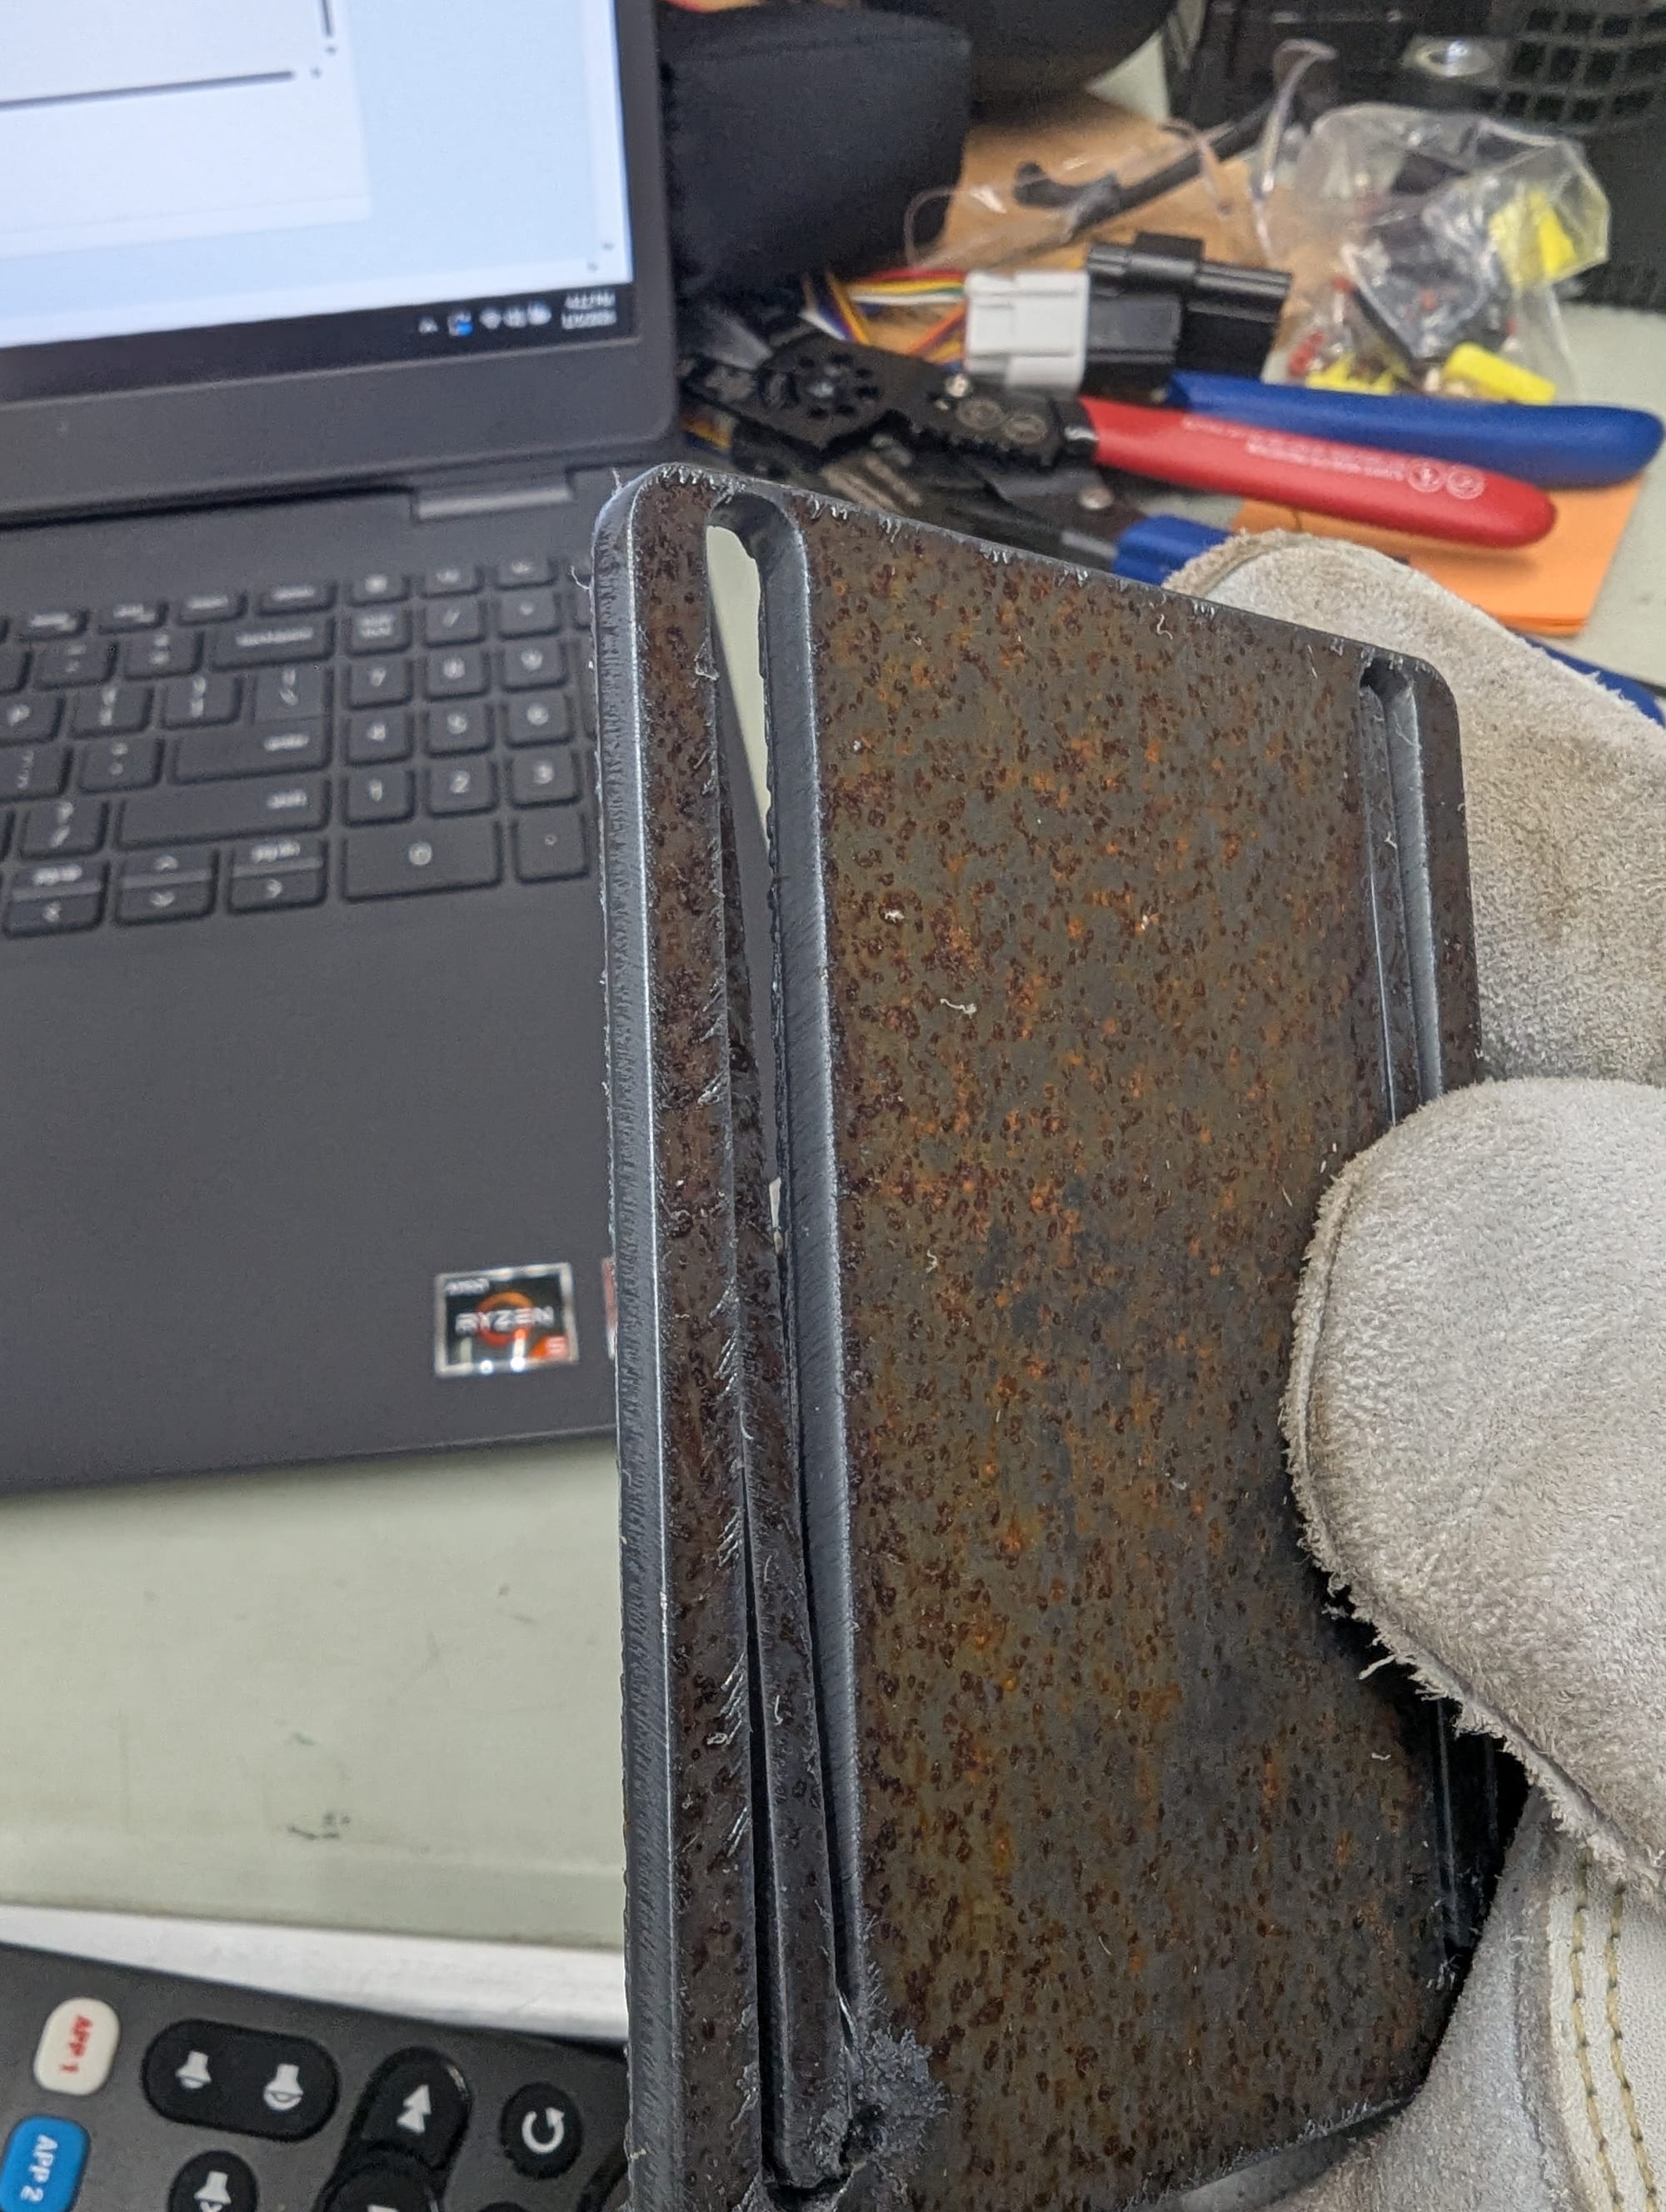
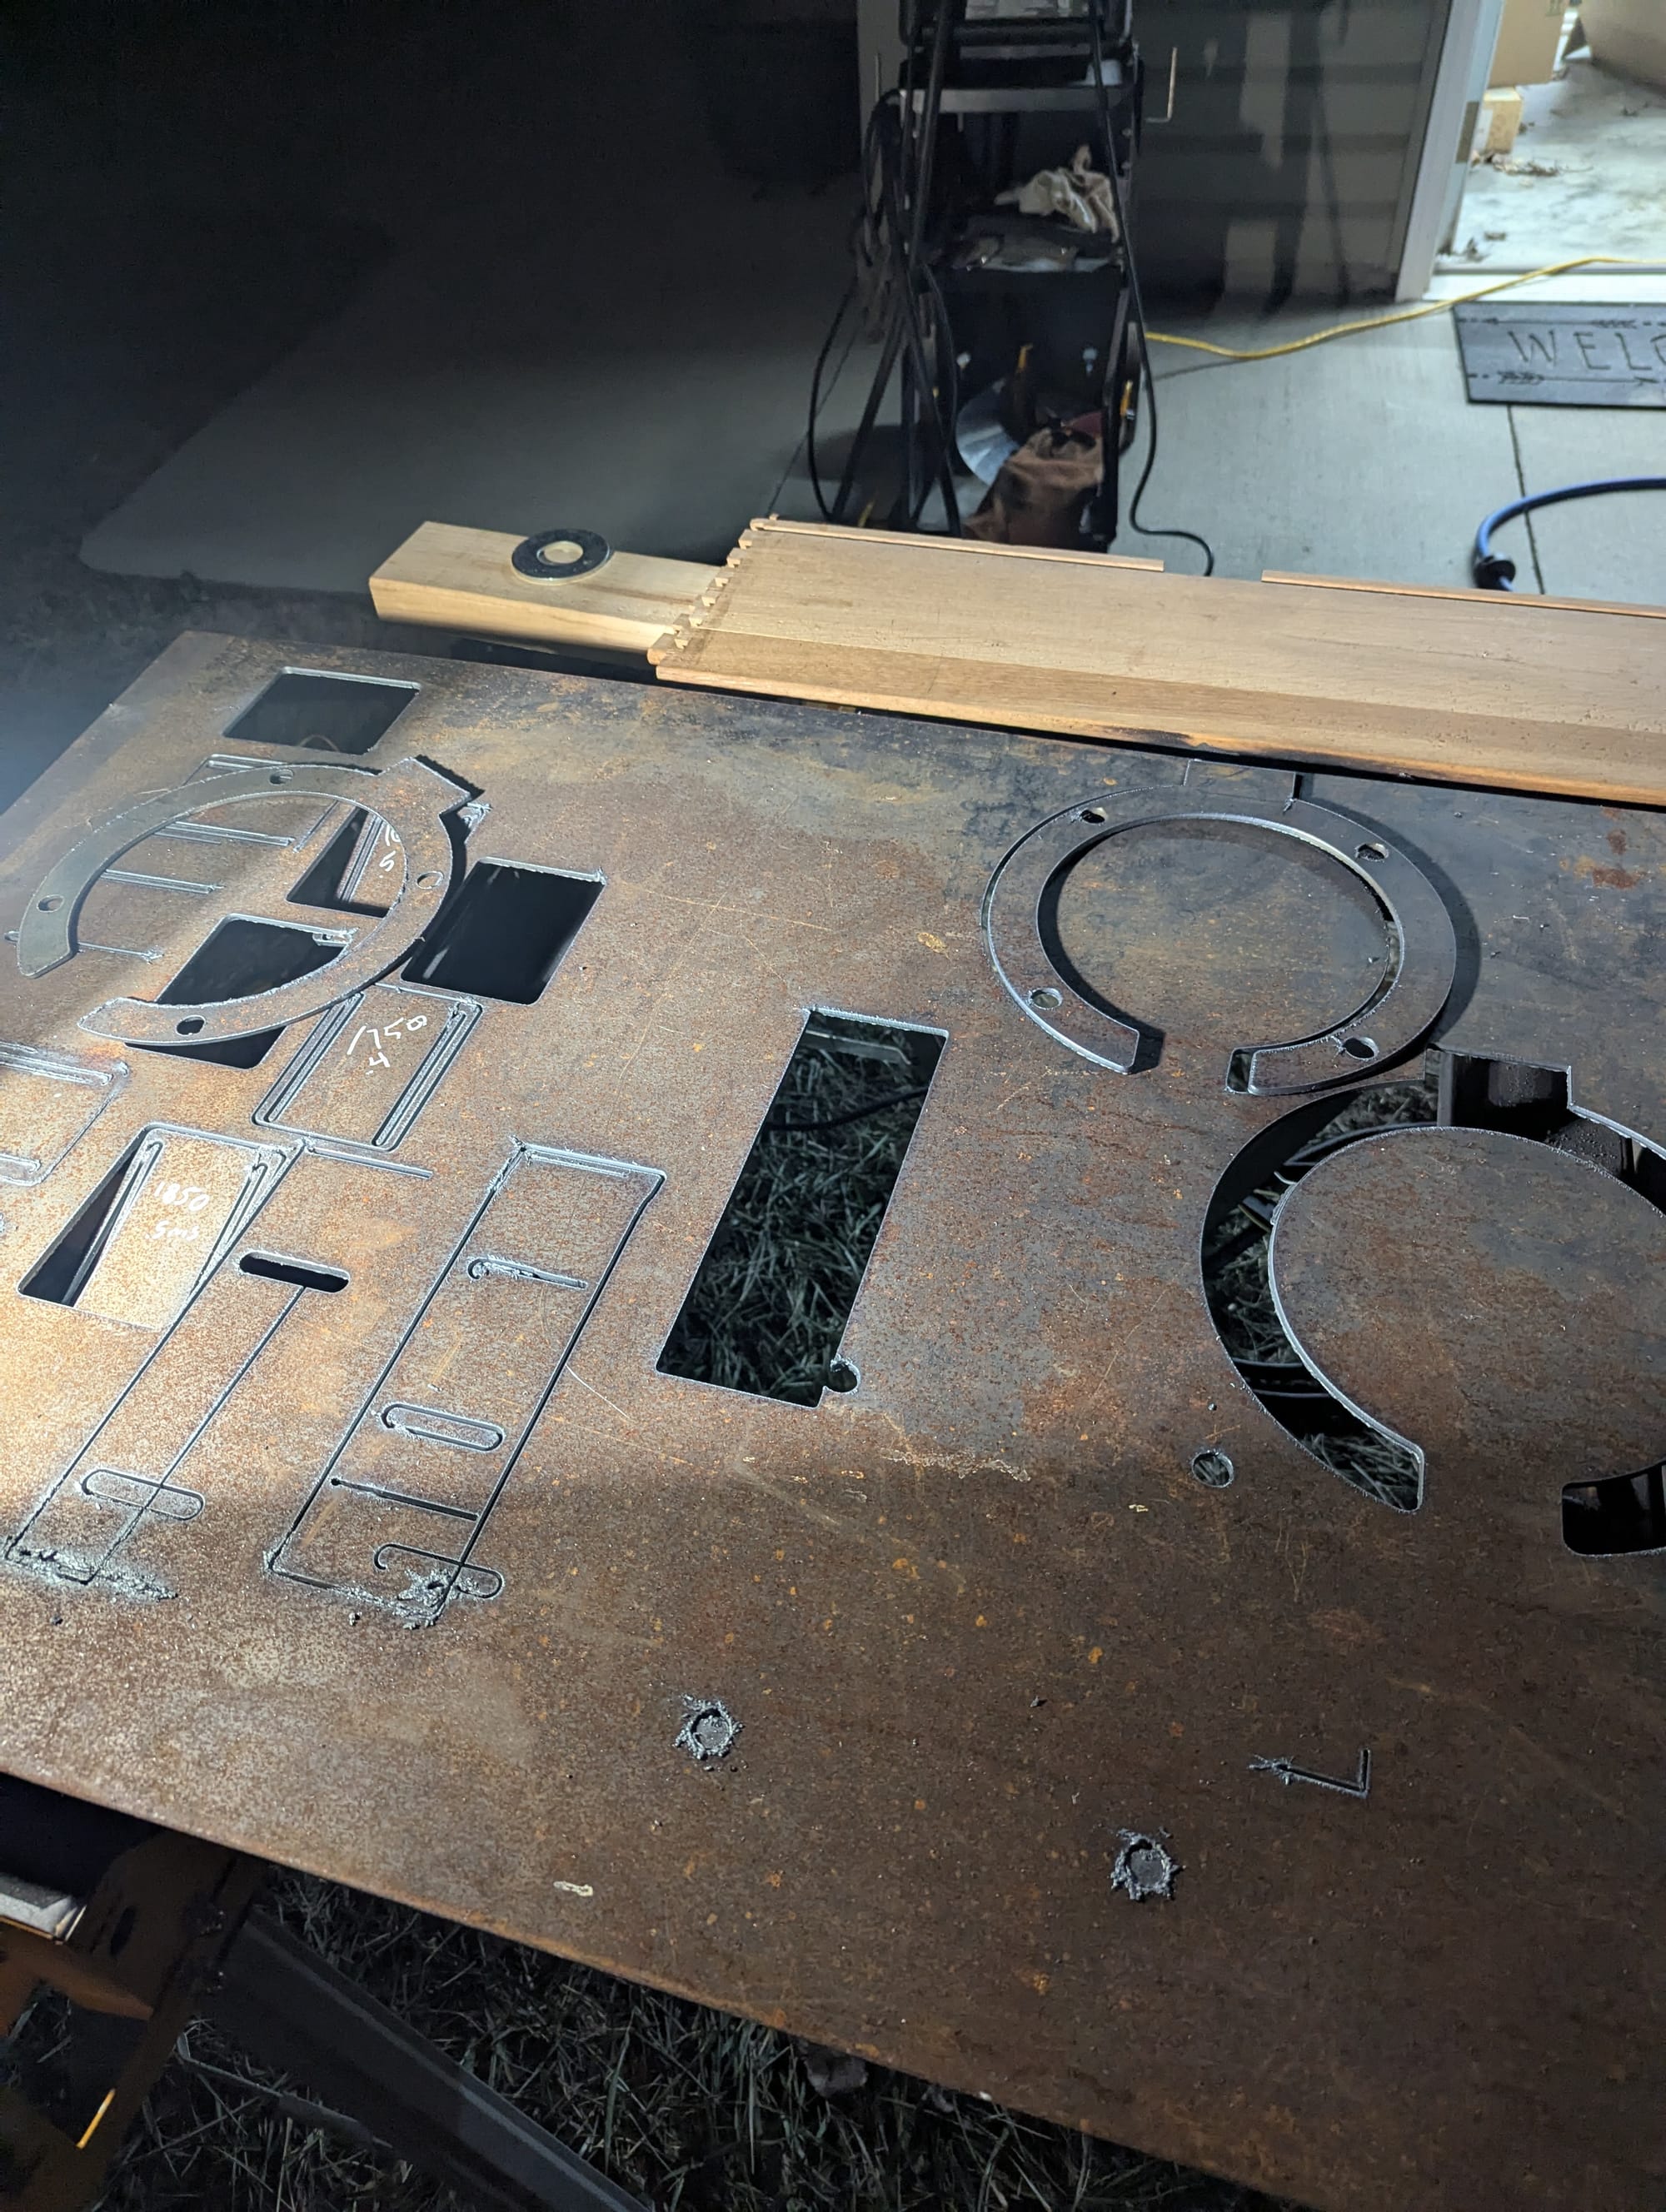

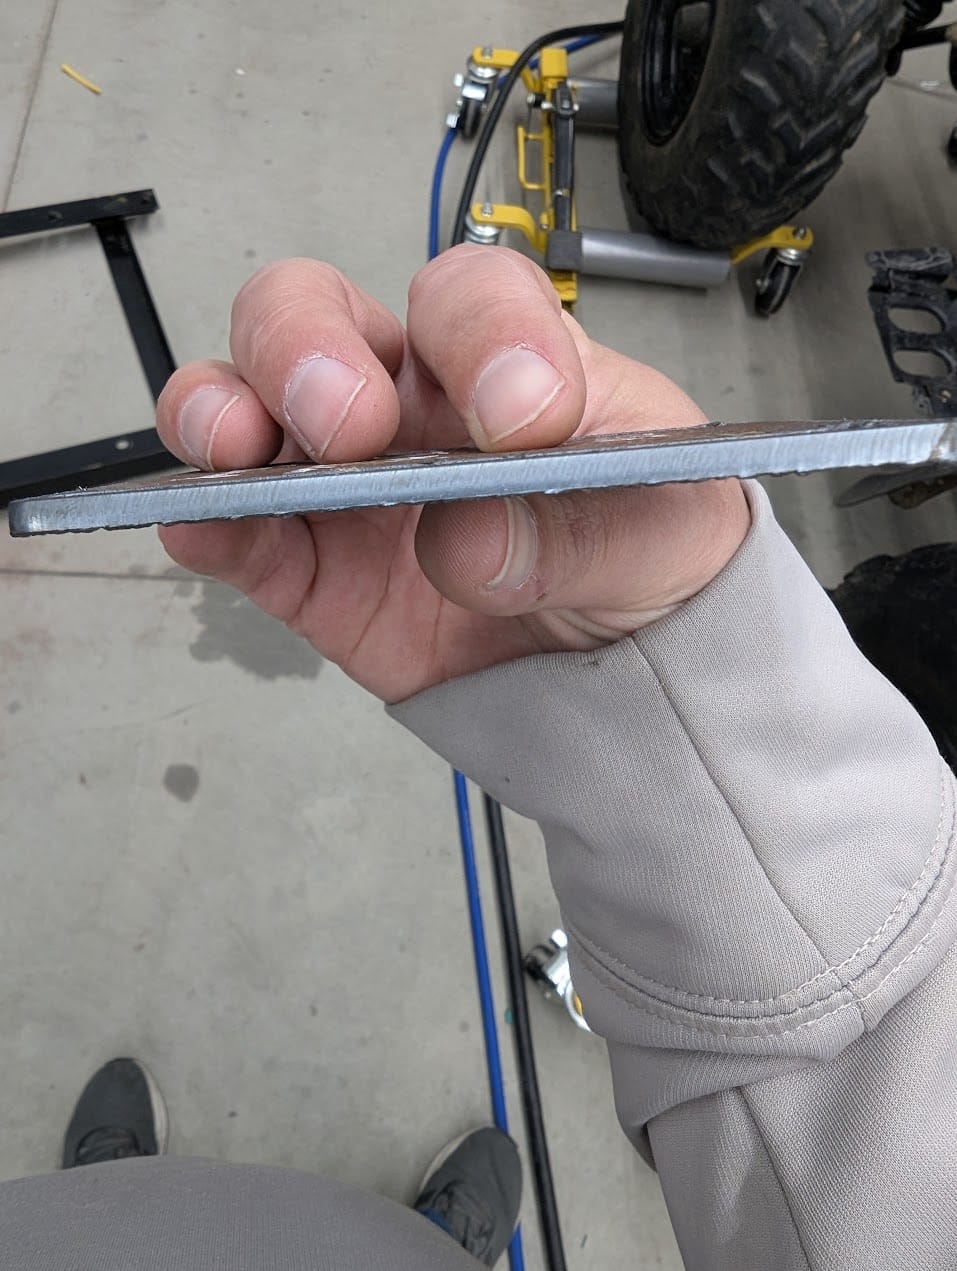
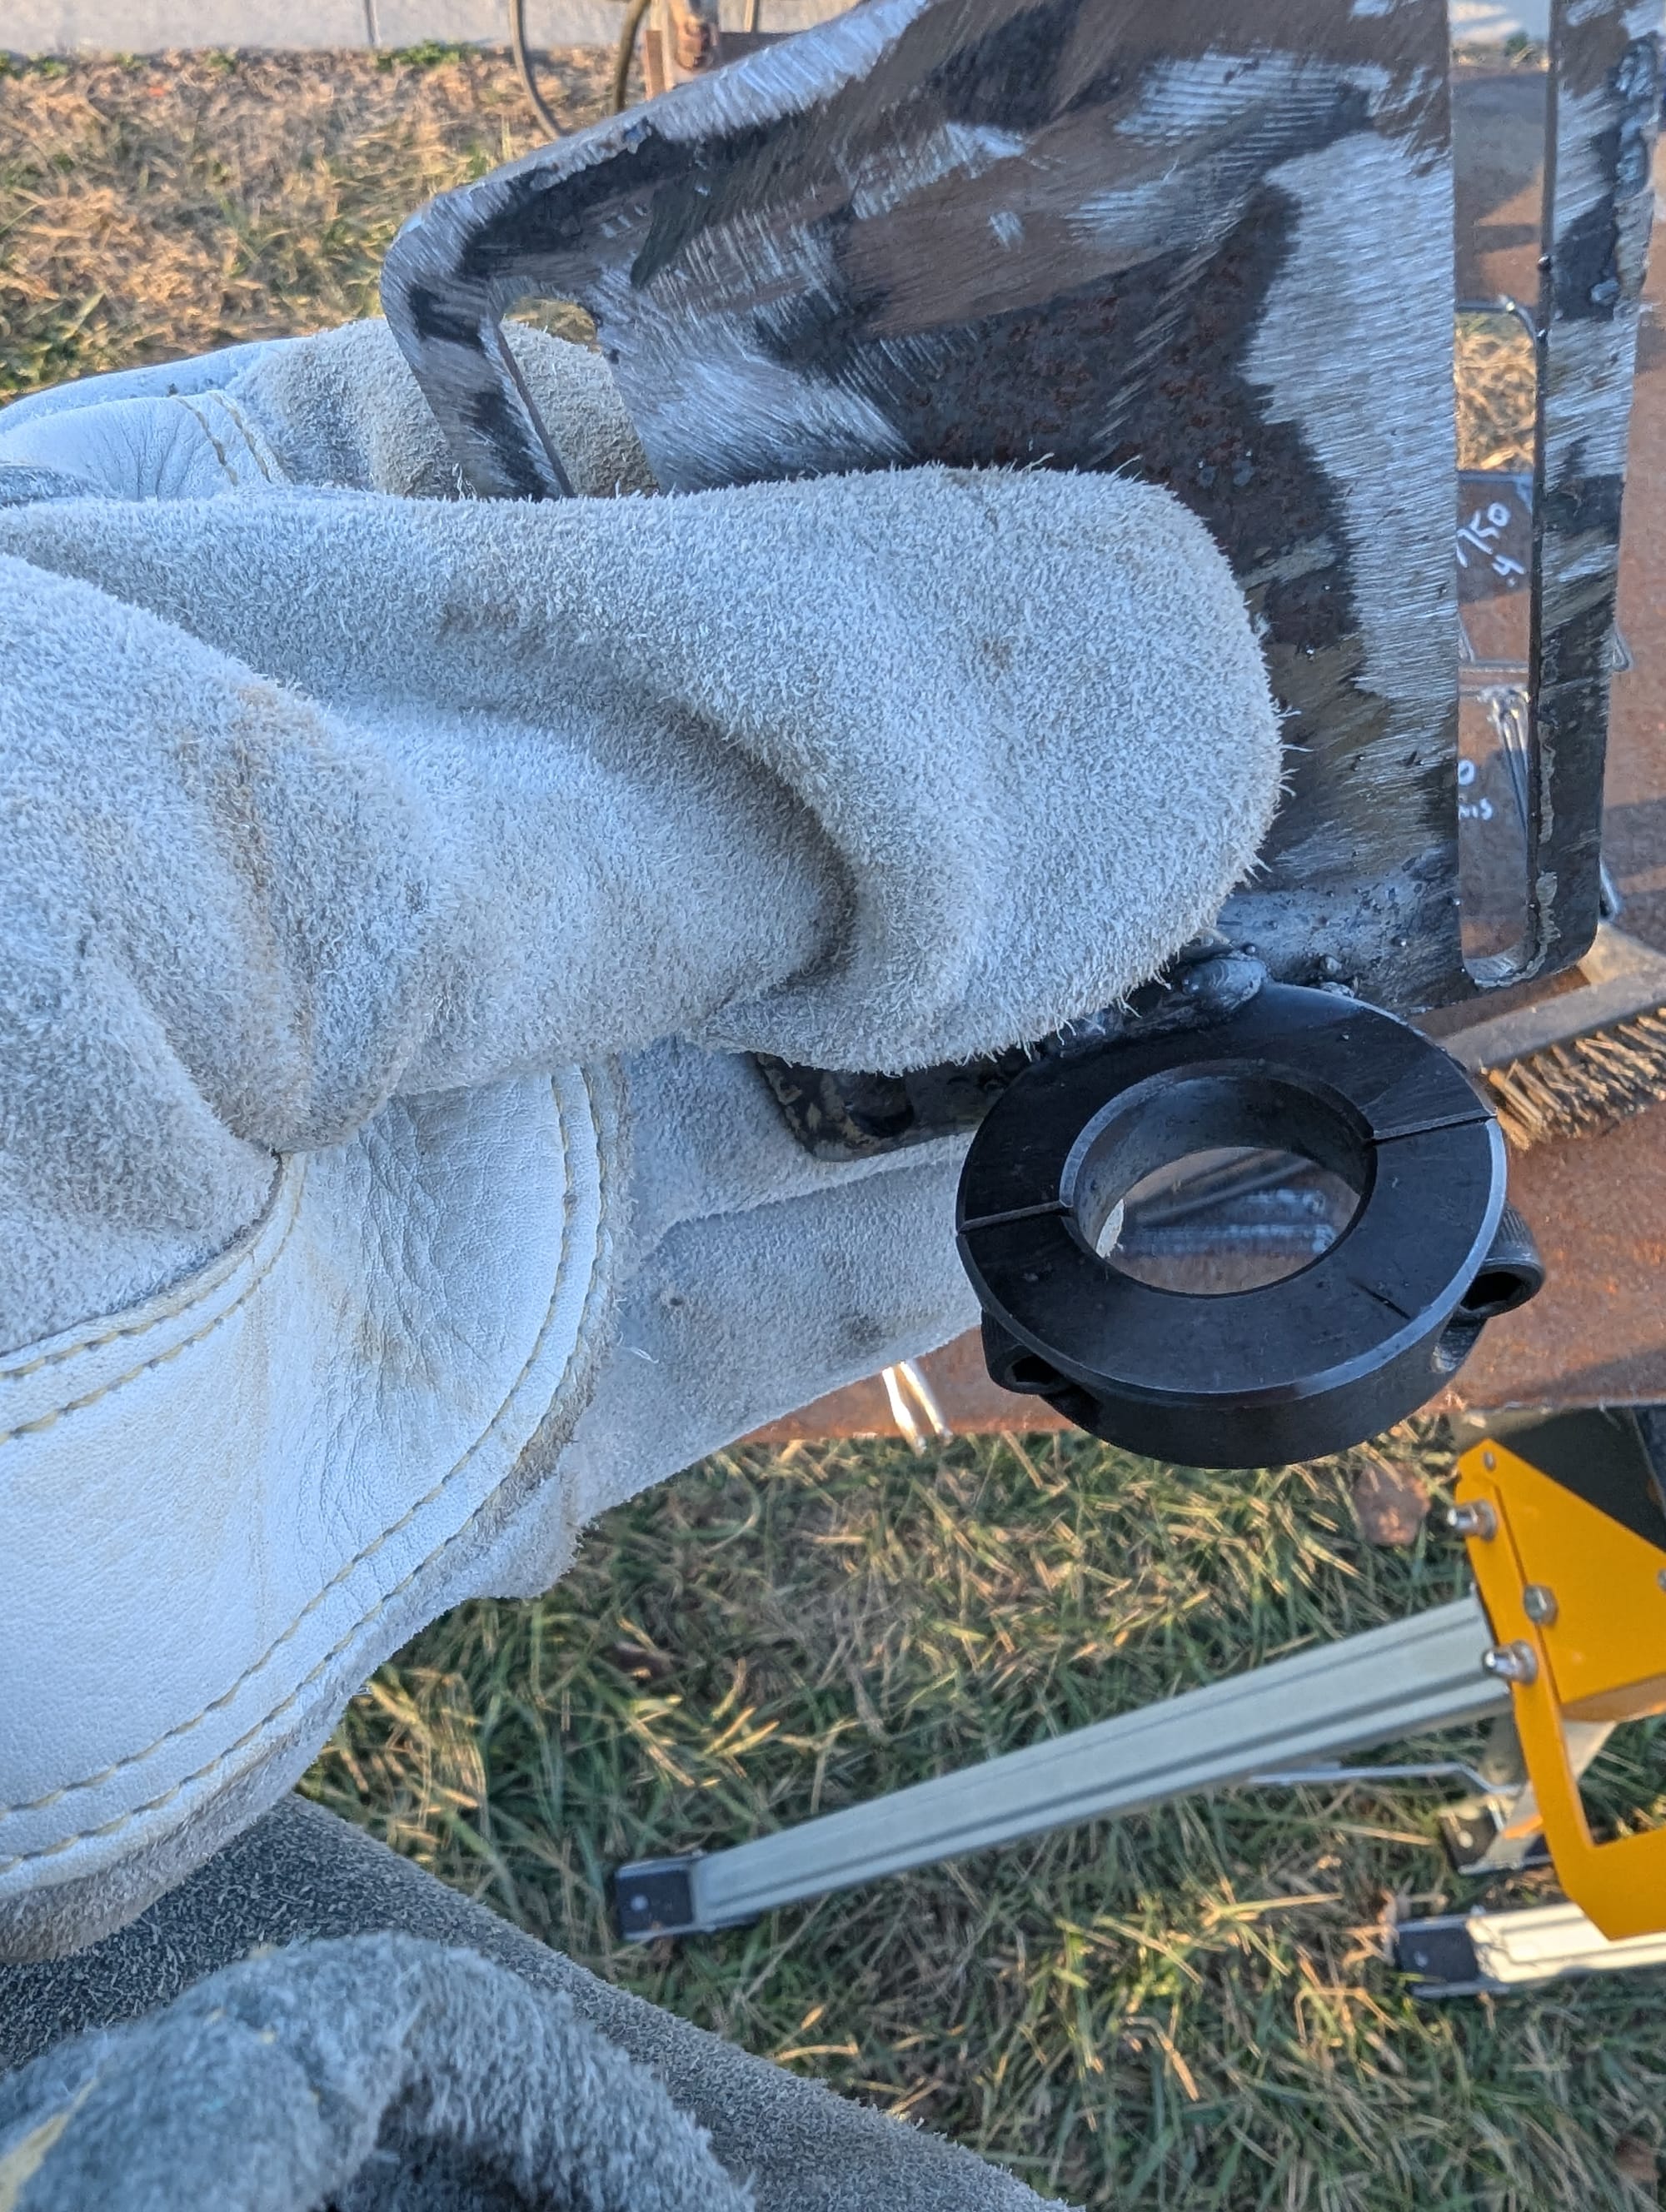
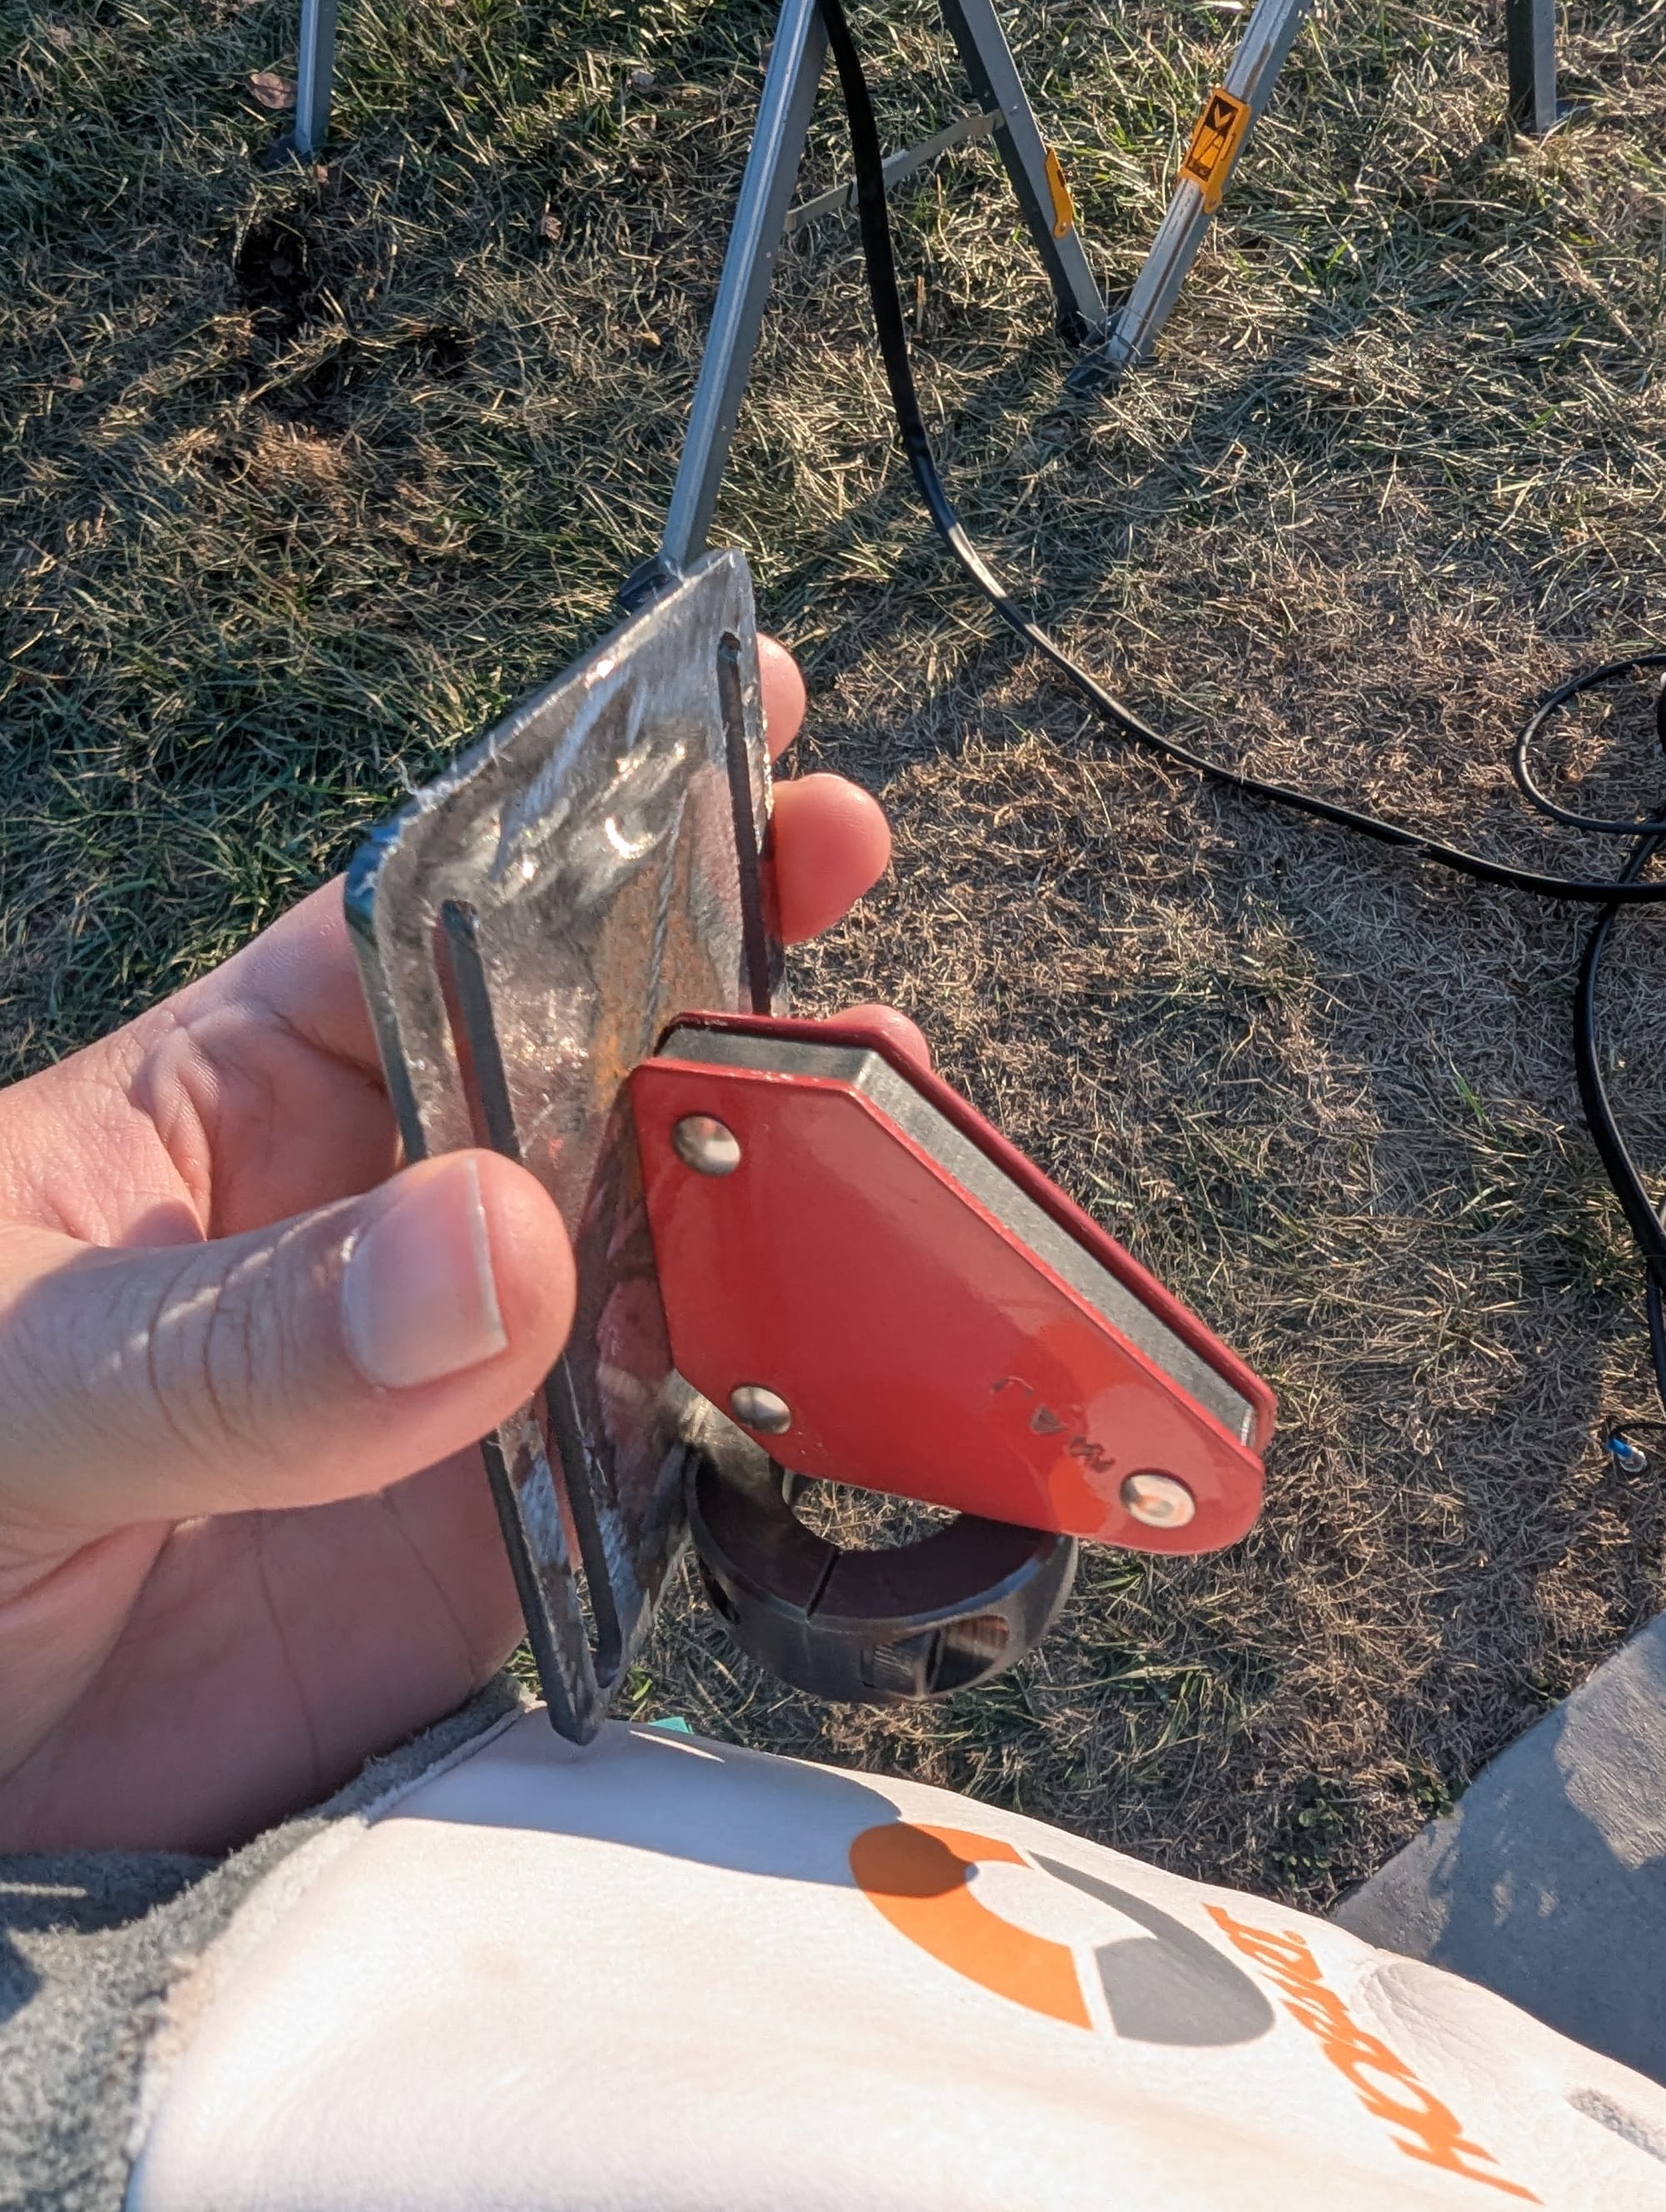
The cut out of the circle is 1/2 plate, and with a hit of hammer the slug fell out. The C , and bracket are 1/8"